Chances are, if you’ve ever worked in the field of drywall finishing, you’ve used a Trim-Tex Tear Away® L Bead before. It’s trusted by tradespeople around the world to finish drywall against windows, as well as doors, concrete columns, wood beams and more. And, if you’ve never used Tear Away Beads before, or just aren’t sure if you’re doing it right, well, it’s about time you learned about this essential solution — here’s your ultimate guide to using Trim-Tex Tear Away Bead on windows for a faster, easier, flawless finish.
The Ultimate Guide to Using Tear Away® Bead Around Windows


What is Tear Away L Bead?
For generations of drywall finishers, Tear Away L Bead is the go-to solution for finishing drywall wherever it butts up against another, non-drywall surface (typically a window, door or other architectural detail). It consists of two rigid vinyl flanges (return leg and mud leg) that protect the rough edge of the drywall, and a removable tear-off strip that acts as a mask, protecting the neighboring material from joint compound during installation.
By the time you’re done, using a Tear Away in these kinds of areas — as opposed to a regular Architectural L Bead, or even, as we’ve seen on a couple jobsites, a basic corner bead with one leg snipped short — you’re able to get an impossibly clean, aesthetically flawless finished edge. There are many imitators but, as any true drywall pro can tell you, there’s only one Trim-Tex Tear Away L Bead — accept no substitutes.
Why does my window need a Tear Away Bead?
Drywall mud and other materials in a finisher’s toolbelt, like spray adhesive, are meant to be used on drywall alone, and take time to clean up when they get anywhere else.
While most jobs will specify a level of drywall finish the client would like to achieve, windows will almost always require a special level of care. This is because, at some particular time of day, most windows will get a heavy degree of harsh sunlight — and harsh sunlight will expose every little flaw, every little cut corner in a finisher’s work. Using the best drywall finishing trim, leaving behind a perfectly straight finished edge and using the utmost care to not spill any materials onto the window itself, therefore, are all of extra importance.
Where to buy Trim-Tex Tear Away Bead
Tear Away L Beads are, year after year, one of Trim-Tex’s most popular products, so you should be able to find them at nearly any drywall supply dealer who stocks Trim-Tex products. To find one near you, visit our dealer locator here, or if you live in the U.S., just enter your ZIP code into the tool below.
Find Your Local Dealer
Trim-Tex beads are flying off the shelves at a dealer near you. Snag a box or a truckload of your favorite corner profiles today.
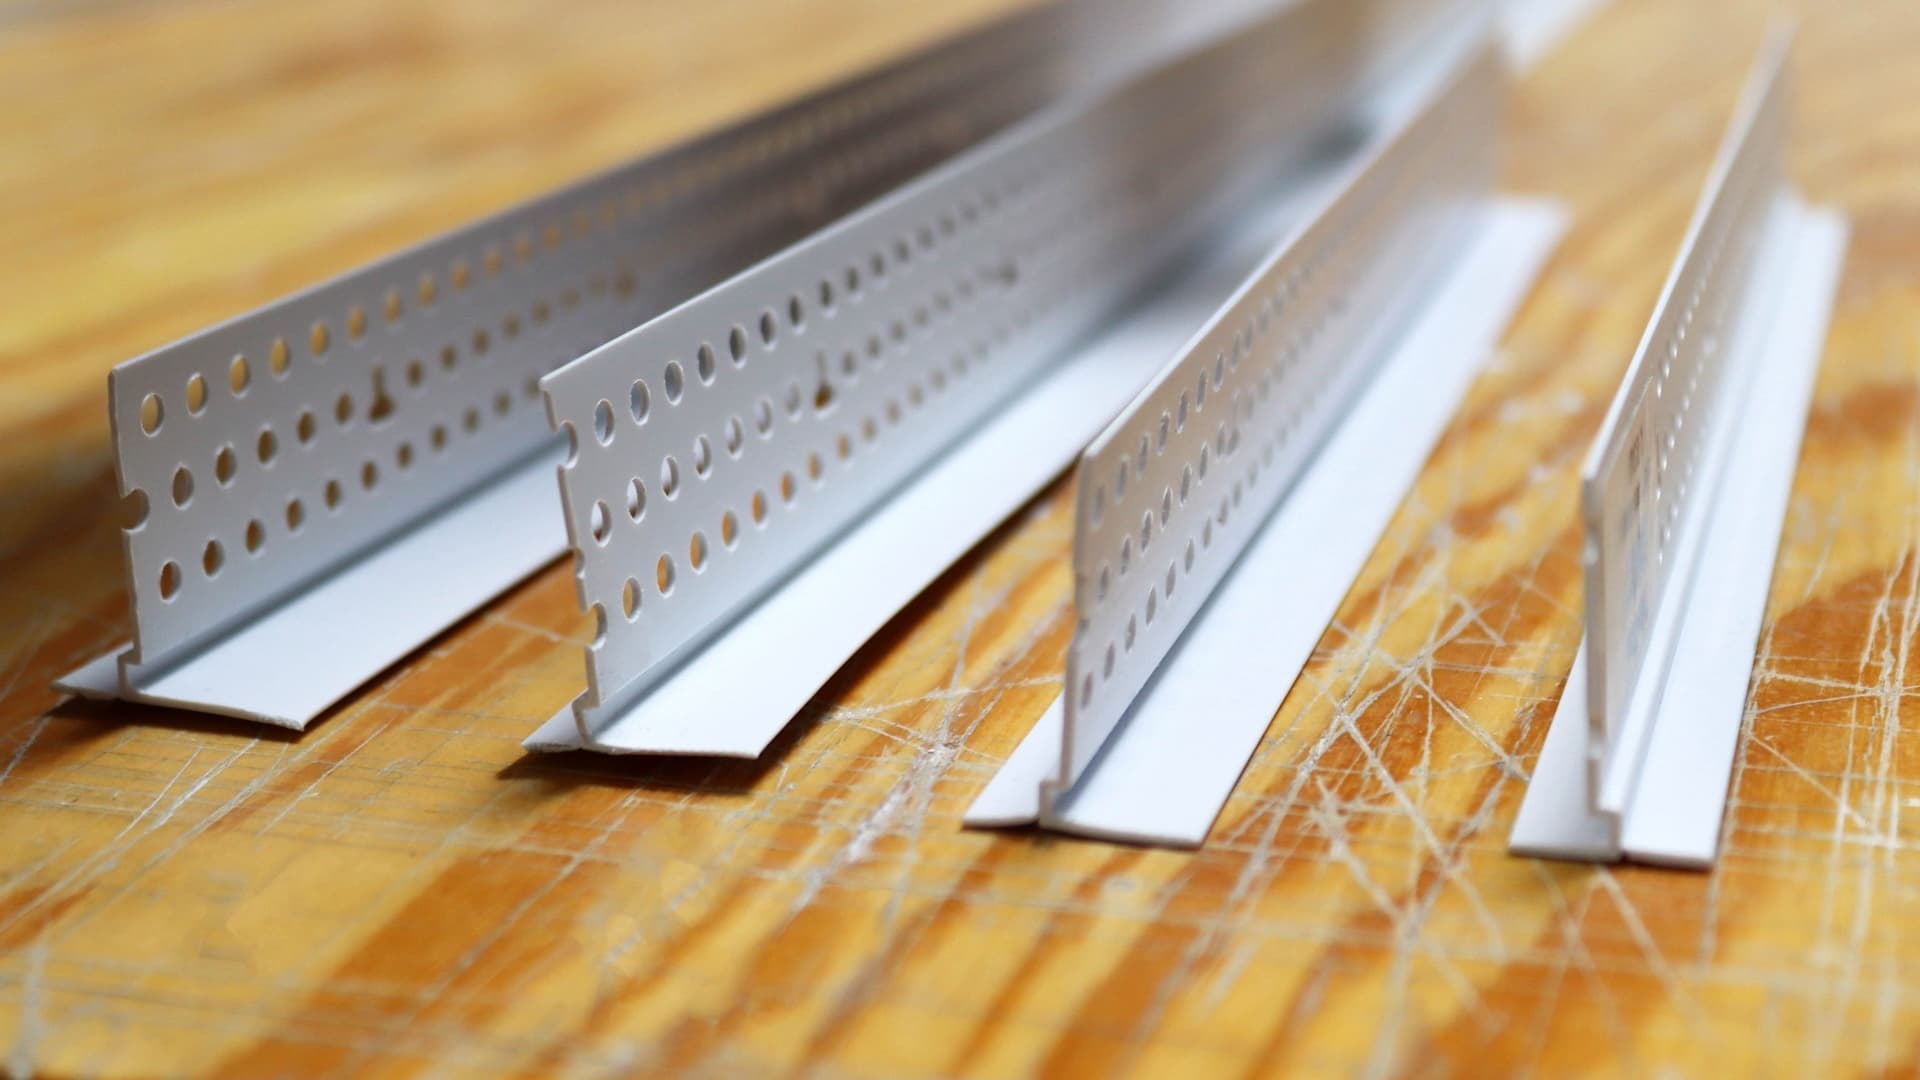
What size Tear Away Bead should I use?
Tear Away Bead is available in four sizes: ¼”, ⅜”, ½” and ⅝” (see image below). These sizes refer to the bead’s return leg, which is the part of the bead that’s inserted between the drywall and the neighboring component. (For all four options, the beads’ mud legs are the same size: 1”.) This return leg is meant to span the rough edge of the drywall, so you should choose whichever Tear Away Bead option matches the thickness of your panel — for instance, in the photos and video that appear on this page, we used ½” drywall, so we chose ½” Tear Away.
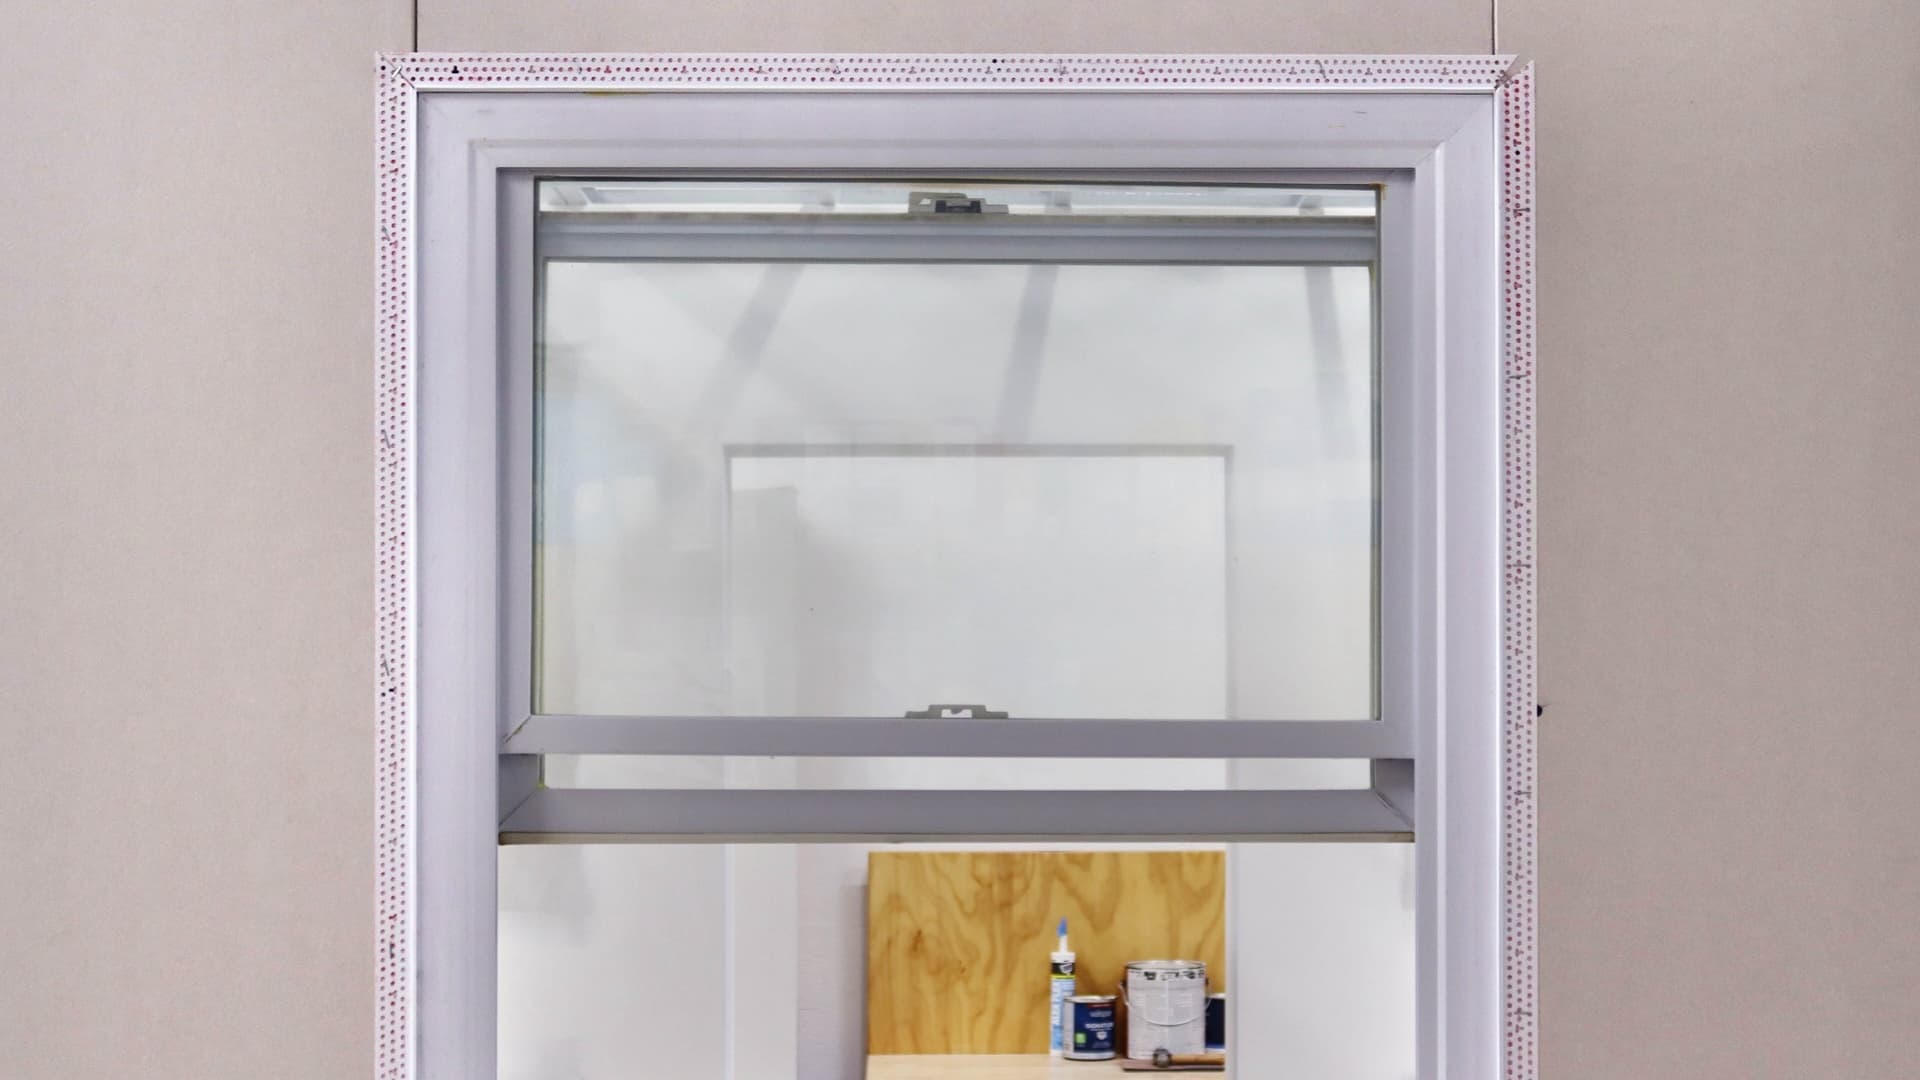
How to install Tear Away L Bead around a window
To begin installing Tear Away L Bead around a window, first measure, dry fit and cut your bead(s) to size.
(Pro Tip #1: using a pair of snips or, better yet, a miter saw, cut the edges of your beads at 45-degree angles to perfectly frame your window with trim. This isn’t a necessary step, and your cuts don’t have to be perfect, but it will help you achieve a better-looking finish in the long run.)


Now, apply two coats of 847 Spray Adhesive.
(Pro Tip #2: While we normally recommend spraying both the drywall and the bead with glue, in this case, we recommend applying both coats directly to the bead, to avoid the risk of getting any adhesive on the window.) Wait for the glue to get tacky, then press your bead into place, making sure that its return leg is slotted between the drywall and the window’s edge. Apply pressure evenly along the mud legs — we like to use one of our handy yellow finishing tool, typically included with purchases of 847 Spray Adhesive.


Next, apply ½” staples along the bead’s mud leg, every 6-8”.
(Pro tip #3: if you’ve cut your beads at 45-degree angles as recommended in Pro Tip #2, leave room on the edges to apply one staple that spans the gap where two beads intersect, joining them together.)
Now you can apply two to three coats of joint compound to the beads’ mud legs. Once they’ve dried, remove the tear-off strips before sanding.


What if my window is installed too closely to the drywall to fit the flange of a Tear Away L Bead?
Whether your framers/hangers have installed drywall too tight to the window frame or this gap has already been filled with another material, like acoustical caulk, this is a very common issue. So common, in fact, that Trim-Tex offers another product to finish these areas: Flat Tear Away L Bead. This is the exact same solution, but without a return leg, and will perform just as well.

Other kinds of Tear Away Beads
Flat Tear Away isn’t the only other spin on the Tear Away Bead that Trim-Tex offers. There’s also Super Seal Tear Away L Bead, with a flexible bubble gasket that forms a perfect seal wherever its installed, reducing sound transmission and providing relief from structural movement — as well as Super Seal-X (pictured above), a fire rated version of this bead. There’s Shower Bead, which, while designed to finish drywall around tub enclosures, would also be a great fit for a window with an extra-wide gap between substrates. Then there’s Pullaway® L Bead, with extra-tall masking protection.
If you’ve never used Tear Away L Bead before, now’s a great time to start — here’s your chance to request a free sample. And if you’ve used Tear Away L Bead your entire career, then, hey, here’s a 9” piece of bead for your next window on us! Hit the button below to get started.

Get Your Free Tear Away L Bead Sample
This is the gold standard for finishing drywall around windows, doors and other essentials, resulting in smooth finished edges and far less cleanup.
Request A Sample