Corner beads may seem like minor details when building a home, but they play a crucial role in both protecting corners from damage and enhancing the overall aesthetic appeal of a space. If you’re familiar with Trim-Tex, you know that we offer many ways to finish a standard 90-degree corner. Among the myriad of options available, Chamfer Beads stand out as a distinct, versatile, and functional choice for architects, contractors, and interior designers seeking to make a custom home truly stand out.
How to Add a Dash of Flavor to Your Corners with Chamfer Beads

Aesthetic and Functional
Chamfer Beads are not your average corner treatments; they are design elements that give your corners a modern look with crisp lines and stark shadows. They boast a unique aesthetic appeal that effortlessly merges functionality and style. The precisely engineered chamfered edges create clean lines that enhance architectural features, adding a touch of sophistication without being too bold or drawing too much attention. Beyond their decorative function, Trim-Tex Chamfer Beads also serve a practical purpose. By providing a smooth transition between wall surfaces, these beads help minimize the risk of chipping and cracking, ensuring that corners remain pristine over time. Crafted with precision and durability in mind, they are designed to provide a clean and crisp edge to interior corners, effectively safeguarding them from wear and tear.

Ease of Installation
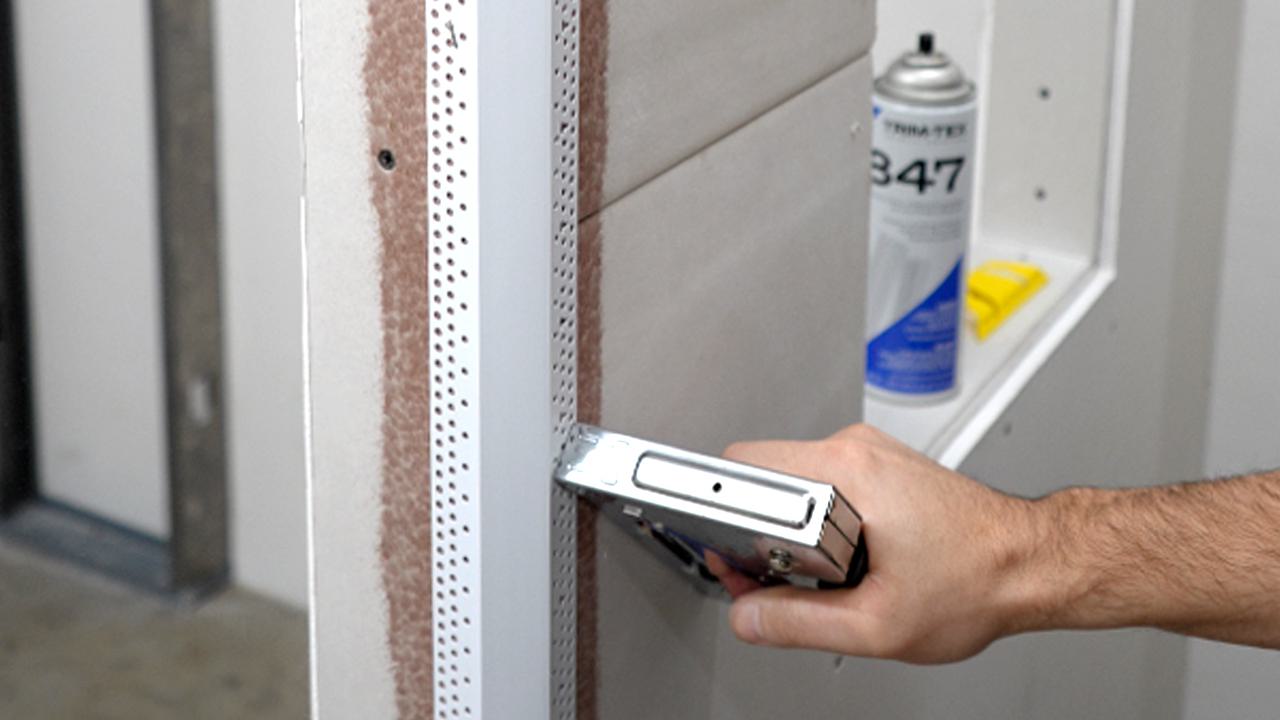
As with our other corner beads, installing Chamfer Beads is a breeze. The installation process is even easier with a miter marker and baseboard adapters. The additional tools required mirror those typically used for installing any spray-and-staple vinyl corner bead: a can of 847 Spray Adhesive and a staple gun with half-inch rustproof staples.
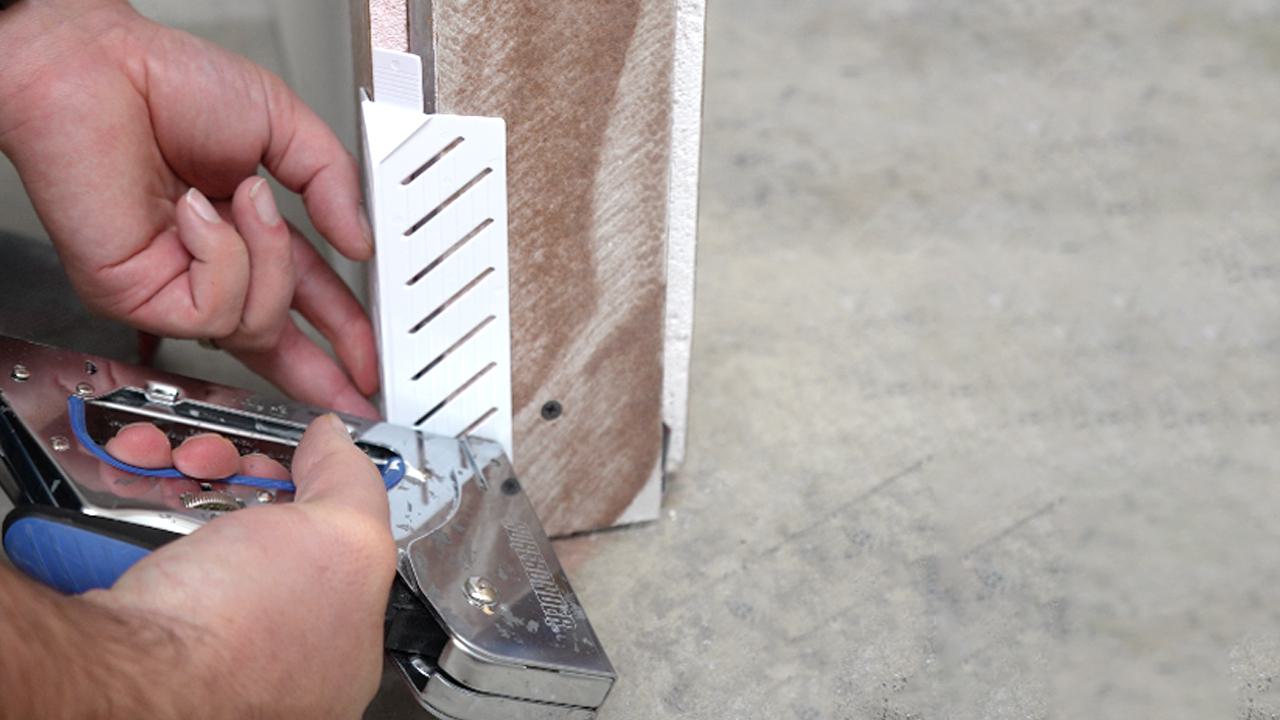
When installing the baseboard adapters, ensure adequate space left at the bottom of each wall below the adapters. To get the right measurement, you can use a scrap piece of drywall and rest the adapter on top of it. Now just install your adapter with a light spray of 847 Adhesive on both the vinyl accessory and the drywall, then staple it into place. (Note: You can also spray two coats of spray glue on the bead/accessory or the drywall to avoid spraying both.)

Measure and cut the bead to length. Then use the miter tool to mark the angles where two pieces of bead will join to ensure a perfect. You can cut the marked piece off with a miter saw or just a pair of snips, as seen in the installation photos. Next, apply a coat of 847 Spray Adhesive to the bead and the drywall. Once the glue gets tacky after a few seconds, apply the bead and press it firmly into place to ensure a secure bond with the drywall. Staple the bead every 4 to 6 inches and finish it with two coats of mud. Ta-da! It’s that simple — the results are priceless!
With their unique design and straightforward installation process, Chamfer Beads offer both aesthetic appeal and practicality, making them the perfect choice for elevating a space while protecting your corners. Whether you’re an architect, drywall finisher, or a homeowner, incorporating these beads into your space will leave a lasting impression.


