Creating Crisp Corners for Drywall

For drywall professionals, clean corner finishes separate quality jobs from amateur work. Creating seamless transitions between walls highlights your finishing skills, expertise and mastery of materials and best practices.

This guide shares expert advice and techniques to elevate your installations from standard to exceptional. With the right materials and methods, you can complete flawless drywall corners efficiently.

Tools and Materials Needed

Essential Tools

Having specialty drywall tools makes installation much easier. Here are the basics:

  • Drywall saw: Cuts through drywall quickly and accurately

  • Utility knife: Slices through paper facing and makes detailed cuts

  • T-square: Ensures straight cuts

  • Taping knives: Applies joint compound smoothly

  • Sanding pole: Reaches high corners for smoothing

  • Sander: Smooths away bumps

Important Materials

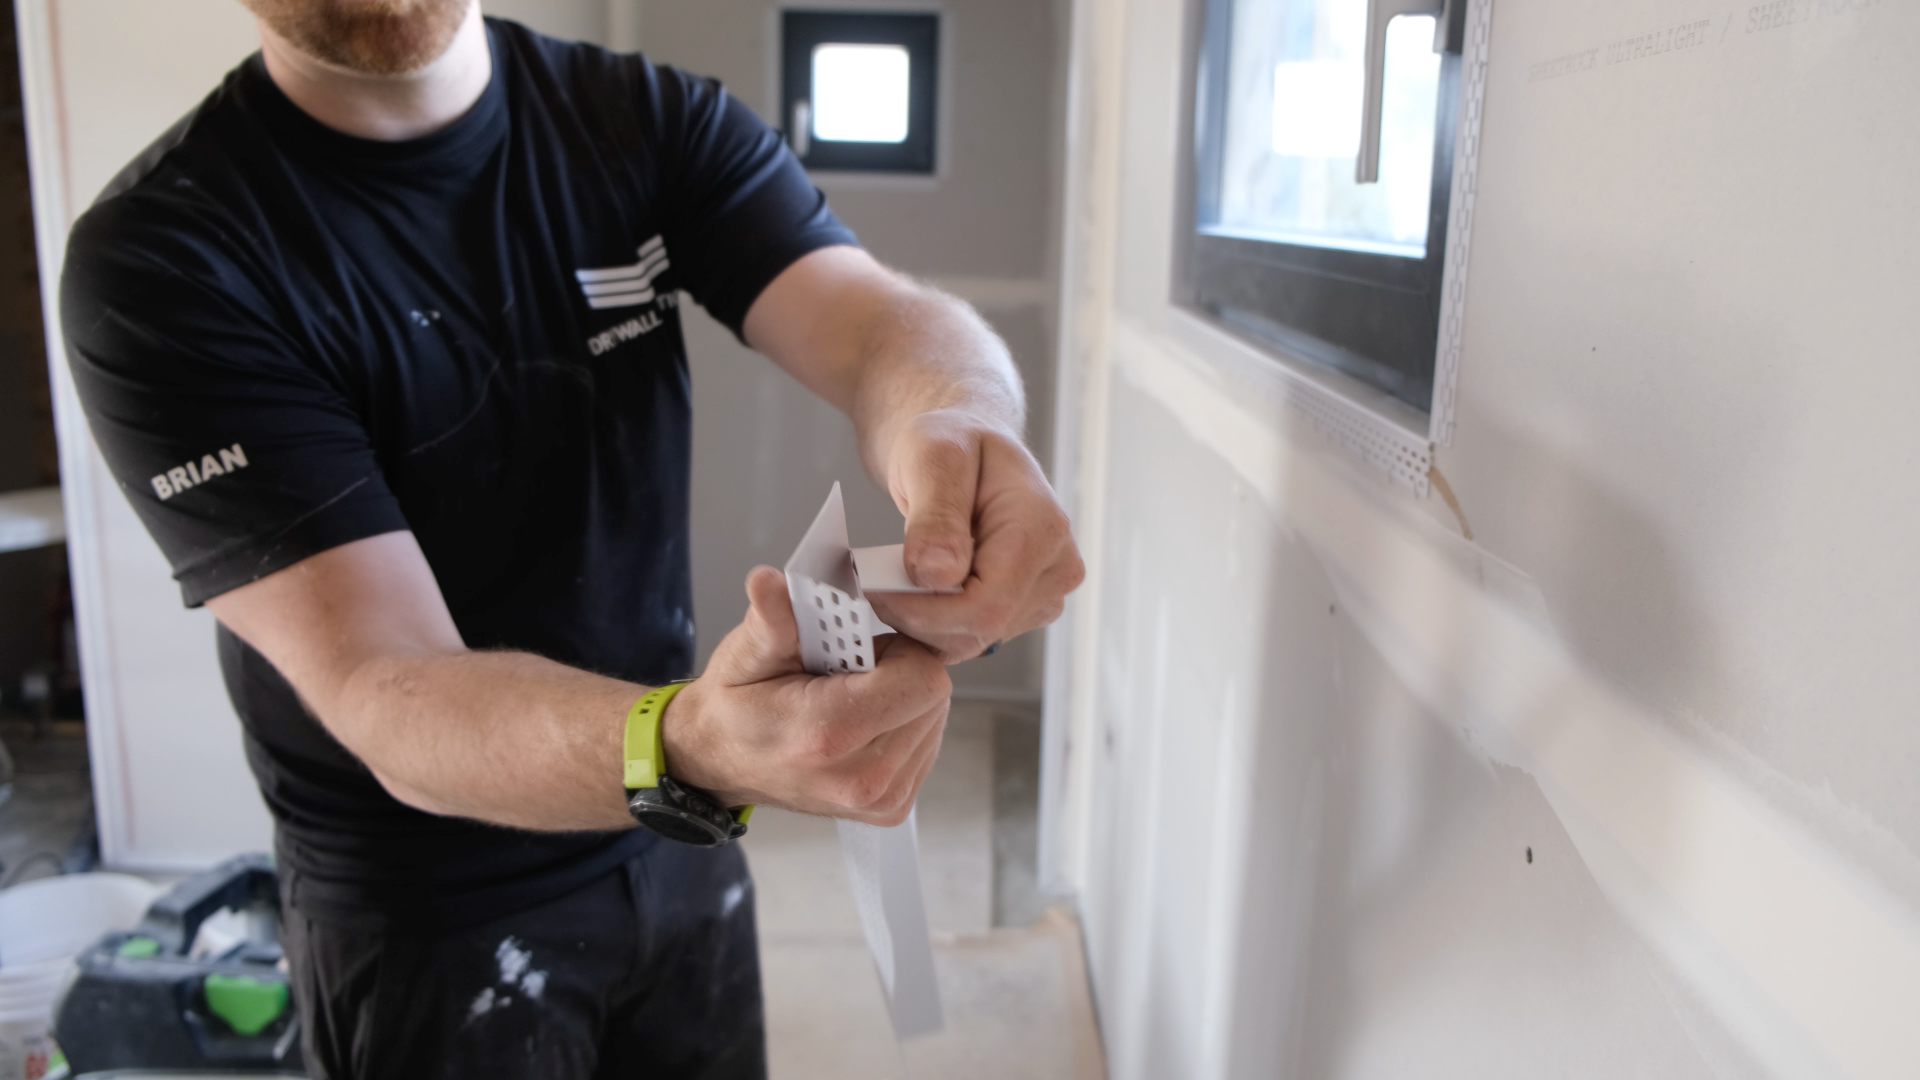
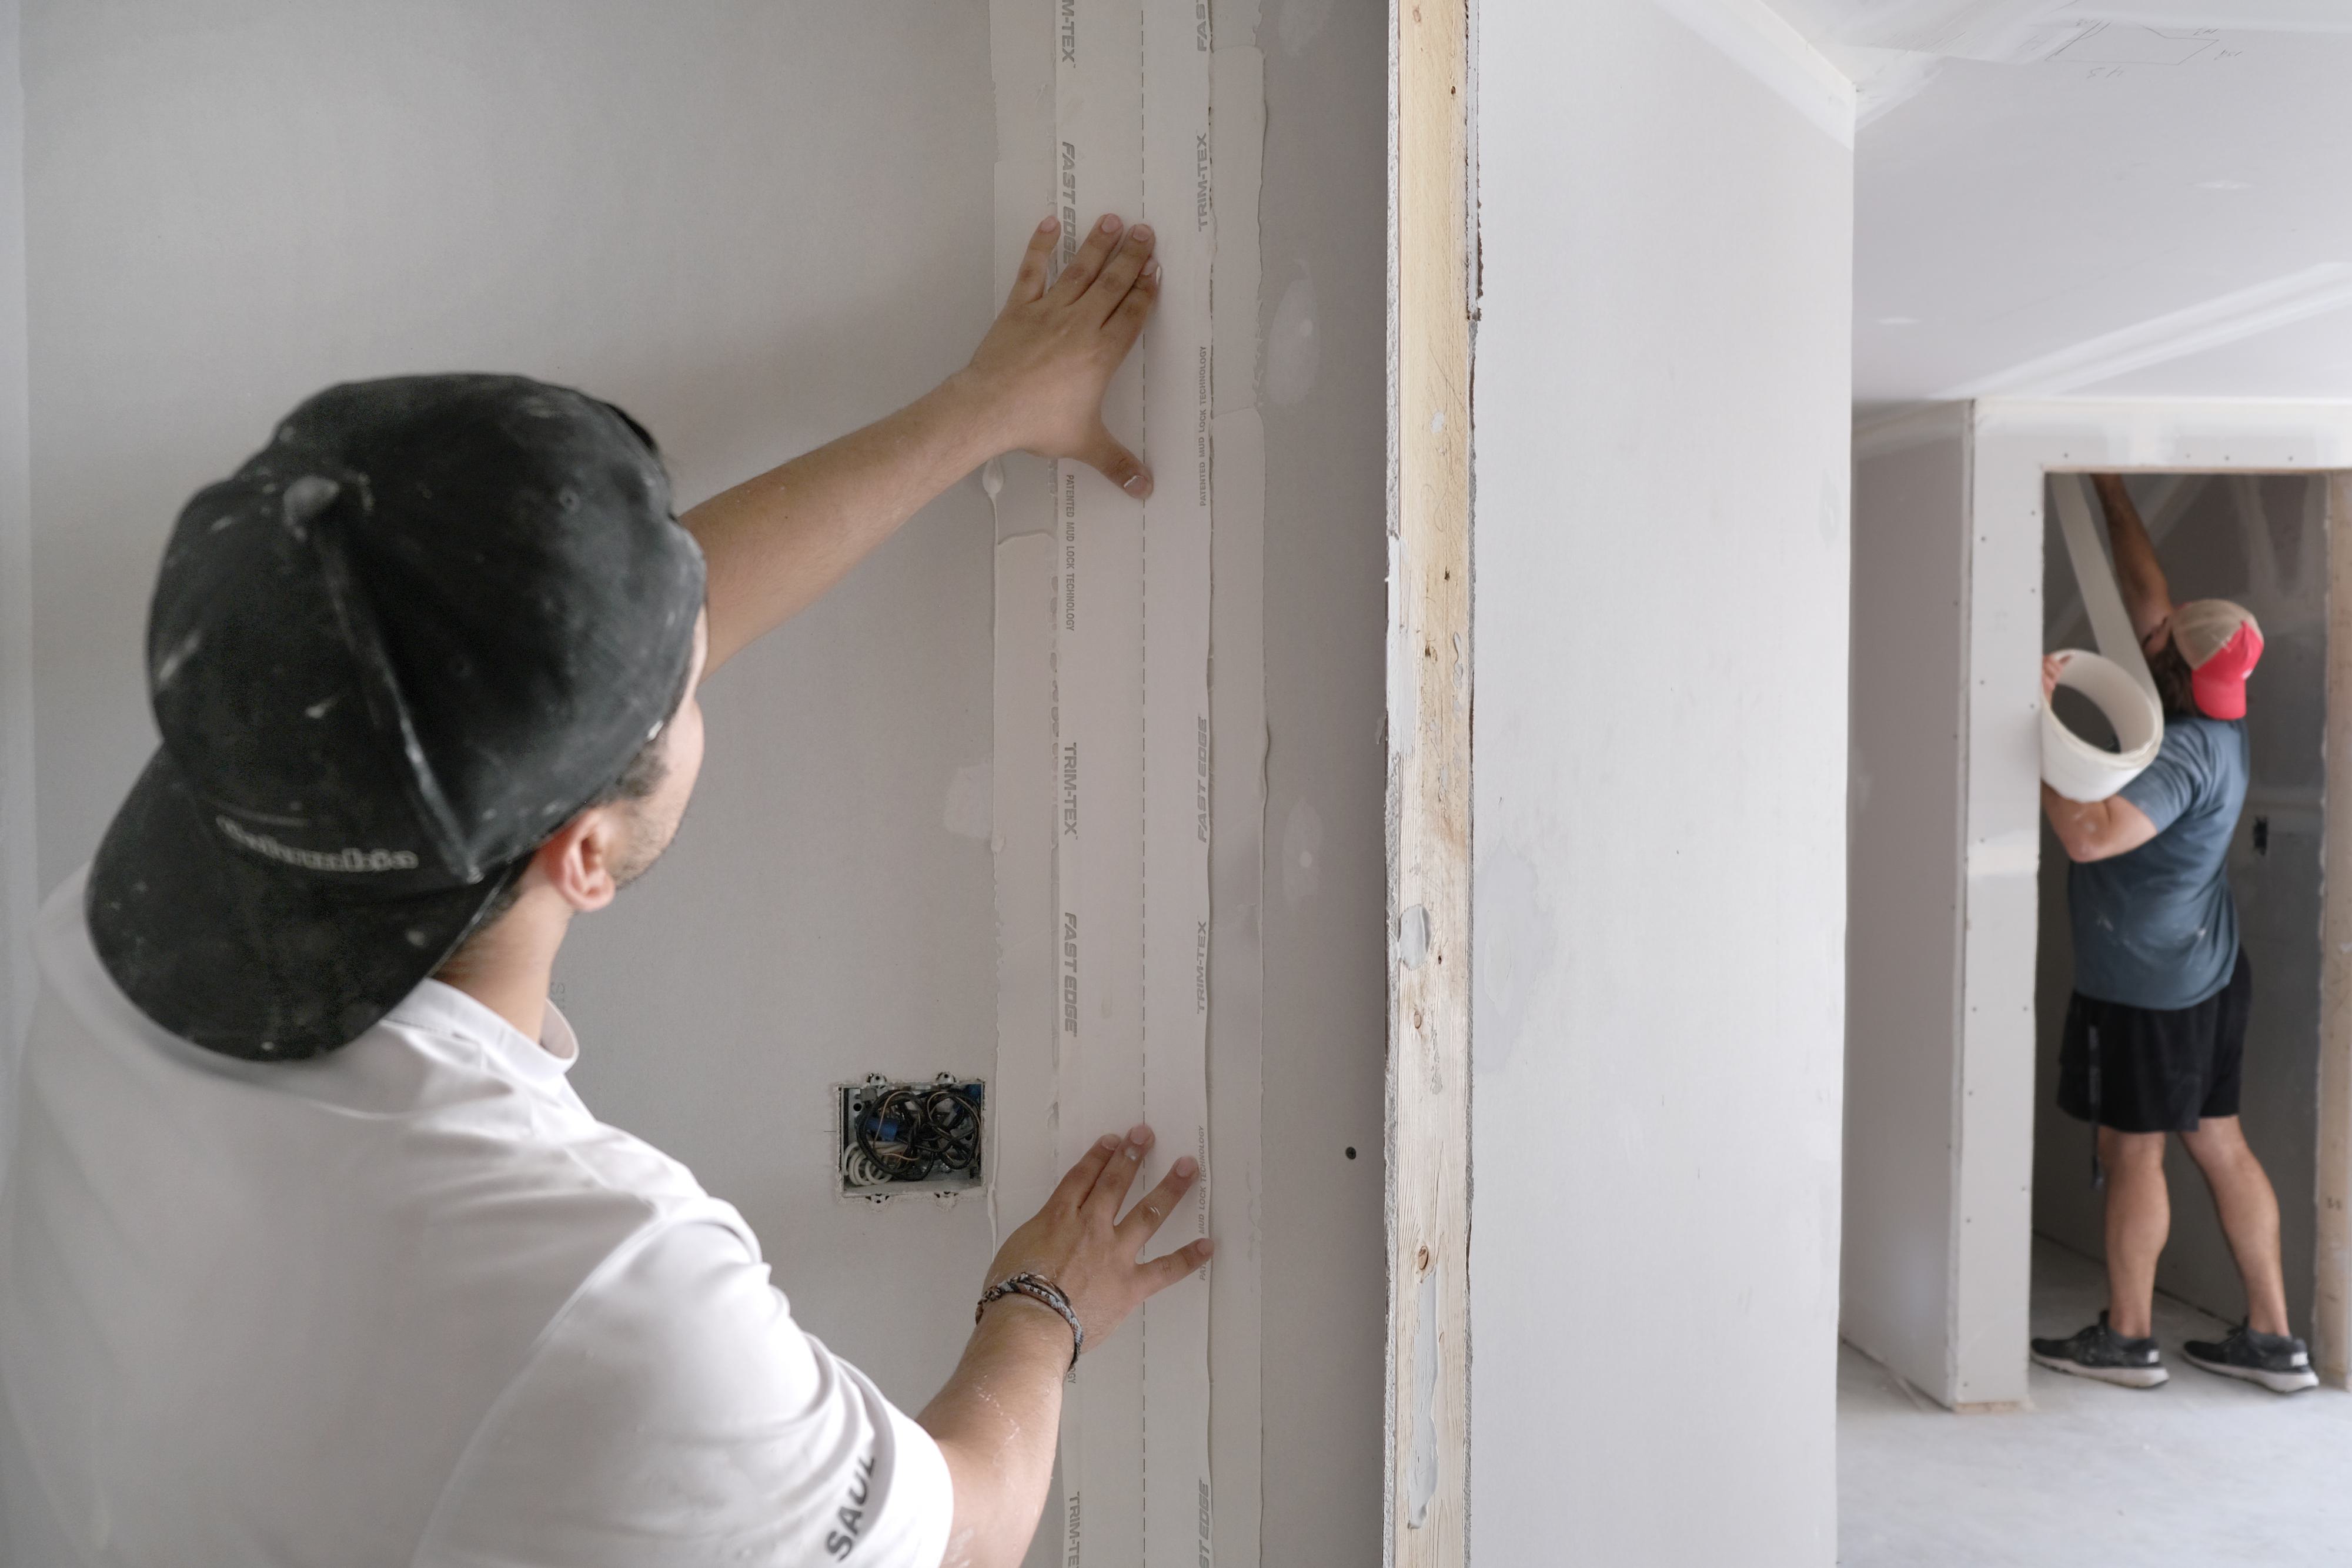
Before choosing your corner bead, it is important to consider the different options. Traditional metal corner bead is a common choice, but vinyl corner bead is more durable and versatile. Other essential materials include joint compound, spray adhesive and corner beading clips, staples or fasteners for securing the bead.

No matter what materials you choose for the job, it is essential to select materials from a trusted brand. When you work with a dedicated manufacturer like Trim-Tex®, who manufactures a collection of over 200 high-quality drywall solutions, you can be sure to find a reliable solution for every project.

Safety Gear

Drywall work kicks up lots of dust. You can avoid health issues down the road by gearing up appropriately for the job. Protect yourself with:

  • A dust mask

  • Safety goggles

  • Ear protection from power tools

  • Gloves

  • Long sleeves and pants

Request a Sample

Request a Sample

Get up close and personal with the best beads in the business

Preparation

Protect Your Workspace

Make sure your client clears all furniture and personal belongings from the area. Cover floors, doorways and vents from drifting dust. When installing new drywall next to existing drywall, mask off the edges of the existing drywall with painter's tape. This will prevent the existing drywall edges from getting damaged or dusty during the installation process.

Measure Your Corners

Confirm the angles of each corner. Most form 90-degree angles, which is the perfect fit for Trim-Tex's standard Corner Bead & Archway. If your angle is tighter or the framing is uneven, the Closed Angle Corner Bead will get the job done. Splayed Corner Beads are ideal for wider corner angles ranging from 120 to 140 degrees. Other options include Chamfer beads for flat angles and Bullnose beads for a rounded look. Taking precise measurements eliminates surprises.

Cutting the Drywall

How to Mark Drywall

Measure and mark cutting lines with a T-square and utility knife. Hold it firmly against the factory edge of the drywall sheet. Score the paper facing in a few light passes, cutting through just the surface. Snap the board along that line for a clean edge.

Methods to Cut The Drywall

When making long straight cuts, use a power saw on top of a sawhorse for stability and accuracy. For small off-cut pieces that require detail work, hold the drywall vertically against a stud for support. Slice through using the utility knife. To maintain clean cuts, be sure to change blades frequently. Sharp blades glide through drywall with much less effort, minimizing ragged edges.

Installation of The Drywall

This image depicts a person holding a corner bead while on a job site.

Aligning the Drywall With The Corner

To install drywall boards, utilize the factory edges for a seamless interior corner. Gently stand the sheet vertically, holding the leading edge slightly off the corner to avoid scrapes. Begin by fitting the top corner neatly into place, then pivot the bottom corner to meet it. Handle drywall carefully to prevent damaging the corner beads.

Securing the Drywall

Attach the sheets to studs and plates using drywall screws, positioned 8 inches from all edges and every 16 inches between. Staggering boards will create interlocking seams with improved strength. Sink screw heads just below the surface without puncturing the paper. This prevents visible bumps when applying smooth finish coats later on.

How to Install Corner Beads

For extra corner strength, apply vinyl corner bead. Our top choice for an impact-resistant finish is the Mud Set Rigid Corner Bead. It creates an incredibly strong bond while using up less mud.

To install a Mud Set or Fast Edge bead, fill the Pro Series 4-in-1 Hopper with joint compound and slide the corner bead through. Then firmly press the beads into place with the Pro Series Quad Roller so excess mud is pushed out, then wipe that mud down with your taping knife. Once dry, the durable vinyl withstands dents and will not rust or peel.

Another simple but effective vinyl bead installation method is the spray-and-staple technique. Apply Trim-Tex's 847 Spray Adhesive to the drywall surface, then the corner bead in a continuous motion from a distance of 6 to 10 inches. This adhesive is high-tack, so a little goes a long way. Press the bead firmly into place with the handle of your taping knife, then secure it with staples distanced 6 to 8 inches apart.

Finishing the Corners

This picture depicts two people working in a freshly dry-walled room.

Applying Joint Compound

Cover all seams and corners with a smooth layer of joint compound using a 4-inch to 8-inch taping knife. Spread an even coat without gaps, voids or excess buildup. Allow thorough drying between applications. Proper compound application and drying create invisible seams, prevent cracks and minimize sanding between finish layers.

Sanding the Corners

Carefully sand ridges and tool marks using your preferred drywall sander to prevent uneven paint coverage later. Apply light pressure in smooth, circular motions. Wipe away all dust between sanding and additional coats using a damp sponge, then allow to fully dry. To reduce fatigue, we recommend using a more efficient sanding solution like the Black Widow Pro Sander.

Inspect corners under bright light to ensure a perfectly smooth finish. Target any remaining tool marks or imperfections for additional sanding. Proper sanding provides the pristine base needed for visually seamless painted corners.

Applying the Second Coat of Joint Compound

Build up corners with a second smoothing layer of compound. Use a 6-inch or 8-inch knife to feather out edges and let dry overnight. High humidity or low temperatures can significantly increase drying time. Repeat until corners are perfectly smooth and indistinguishable from surrounding walls. Avoid thick buildup that requires extensive sanding.

Painting and Final Touches

Preparing to Paint

Before cracking open the first can of paint, take time to prep the surface. Eliminate dust remnants from the drywall installation using a vacuum attachment and clean tack cloth. You can prevent topcoat problems by using drywall-specific primers, which create a uniform seal so the finishing paint looks flawless.

Painting Techniques for Drywall

When selecting application tools, use a 1/2-inch nap roller and nylon/polyester brush to achieve seamless coverage on drywall. Thin, even coats prevent overlapping roller lines and visible brush marks. Allow ample drying times between multiple thin layers.

Tips for a Smooth Finish

Vigorously inspect walls under bright work lights held at an angle to reveal inconsistencies in sheen and texture. Address issues immediately by applying an additional layer of paint over any non-uniform areas. Prevent problems ahead of time with careful surface prep and primer. This produces consistent, museum-quality drywall finishes.

Get in Touch with Us

Get in Touch with Us

Questions? Problems? Our award-winning customer service team would love to help.

Cleaning and Maintenance

How to Clean Up After Installation

When the installation is complete, it's important to thoroughly and carefully clean up any remaining drywall dust and joint compound. Collect drywall scraps and dust for proper disposal. Vacuum all remaining debris and dust, and clean tools before stowing to prevent the buildup of joint compound and debris. Show the homeowners how to gently dust walls without damaging the paint and remind them to use painter’s tape when decorating to avoid peeling the finish.

There are no shortcuts to perfectly blending drywall seams and corners. With the right materials, careful prep and proper technique, you can achieve picture-perfect results. Crisp, clean corners will demonstrate your professionalism and impress clients.

Rely on Trim-Tex for Your Corner Bead Needs

When you need to create a sharp, clean drywall finish, find a Trim-Tex dealer near you to get your supplies. We carry an expansive stock of durable, high-quality corner bead and drywall tools and accessories.

Ready to get started or have questions for our team of experts? Contact us today — we’re happy to help!