Transform Your Windows with Z Shadow Bead

An interior space’s windows are the natural focal point of any room. Especially during the daytime, the eye is almost always naturally drawn to these areas. So why do so many interior designers, architects and drywallers treat windows like they’re just another part of the wall? These are perfect opportunities for finishers to get creative — tap into your adventurous side and transform your windows with Z Shadow Bead!

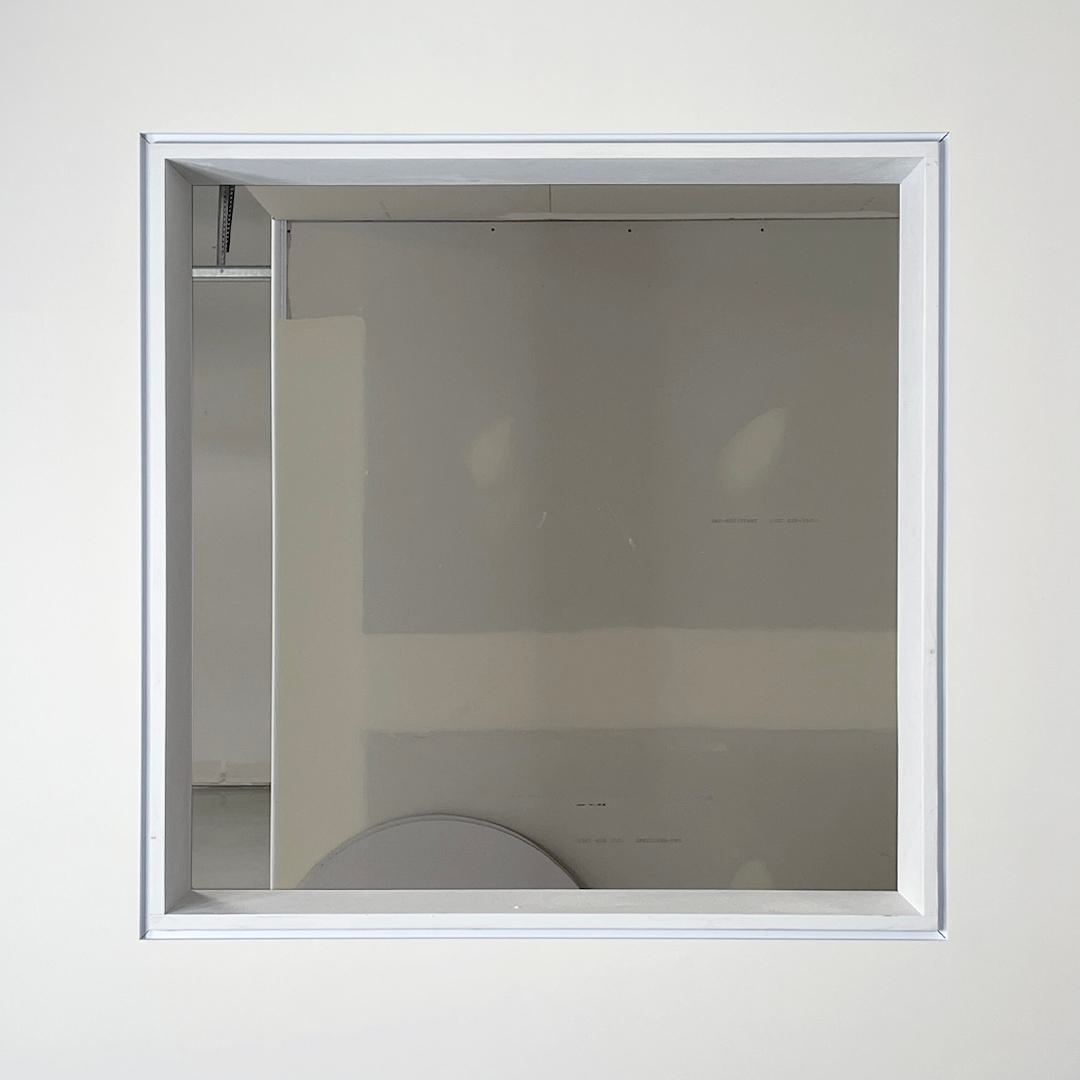
To show you how it’s done, we built a window at Trim-Tex HQ and used our Architectural Z Shadow Bead around the edges for an eye-catching trimless look:

Transforming Windows with Intricate Shadow Details | Architectural Z Shadow Bead #shorts

To start, make sure to hang your drywall with a gap between it and the window return — the gap needs to be wide enough for your shadow/reveal effect, with an extra ⅛” to accommodate the bead itself. So, if you’re using a Z Shadow Bead with a ½” reveal flange, you’ll need a ⅝” gap.

Next, measure and dry fit your Z Shadow Bead. To easily take exact measurements, we like to take two scrap pieces of bead, each with a 45-degree miter cut on one end, and dry fit them onto a corner. Mark that corner’s outer edges, and when you’ve done the same thing on the other side of the window, you’ll have the exact measurement of where to cut your bead. (See photos below.) Now you may miter cut the edges of each bead to 45-degree angles for the corners of the window.

Transform Windows Z Shadow Bead 3
Transform Windows Z Shadow Bead 4
Transform Windows Z Shadow Bead 5
Transform Windows Z Shadow Bead 6
Transform Windows Z Shadow Bead 3
Transform Windows Z Shadow Bead 4
Transform Windows Z Shadow Bead 5
Transform Windows Z Shadow Bead 6

(Note: miter cutting these beads can be tricky. Use a scrap piece of drywall to bolster the bead’s inner flanges so it won’t wiggle or buckle under the pressure of the miter saw. Learn more about this technique here.)

Once you’ve got all four lengths of Z Shadow Bead measured and cut, attach the bead to the drywall with two coats of 847 Spray Adhesive and half-inch staples every six to eight inches. Now you can start mudding: apply two or more coats of mud to the bead’s mud legs, using your joint knife to clear any mud that may have fallen into the reveal gap.

After that’s dried, use a large abrasive like our Black Widow Pro Sander to feather out the mud along the edges of the window. Then we like to take a thin sanding pad and hold it against our joint knife to help us sand the inner flanges of the shadow effect, evening it out as needed. For our window, we painted the shadow detail after installation using a small paint brush (pictured below), but if you’d prefer, you can also pre-paint Z Shadow Bead ahead of time.

Transform Windows Z Shadow Bead 1

Once you’re done transforming your windows with Z Shadow Bead, your entire interior space will look like an ultra-modern architect had a hand in designing it. The finished look is somehow both minimalistic and striking at the same time, and for drywall finishers looking to go the extra mile, the little bit of additional challenge it poses is well worth it.

IMG 4640

Z Shadow Bead can do more than transform your windows — learn how to use it for awesome trimless doors here! Sign up to receive a free sample of Z Shadow Bead below, and make your next drywall project something really special with this dynamic vinyl solution.