
 Trim-Tex's Fire Gasket is not a very complicated device.
Fire Gasket is composed of a wide slab of vinyl, attached to which you'll find a piece of adhesive foam, a compressible gasket to ensure a tight seal against a head-of-wall joint and, most importantly, a strip of intumescent tape that expands to 30 times its size when exposed to heat, shutting down the passage of smoke and fire.
Yet Fire Gasket is also a highly advanced firestopping tool that every drywall pro who has ever had to tackle a code compliance job should know how to install. Follow along below for your step-by-step guide to installing Fire Gasket — the expert's way, cutting no corners — at your next firestopping job.
Step 1: Applying
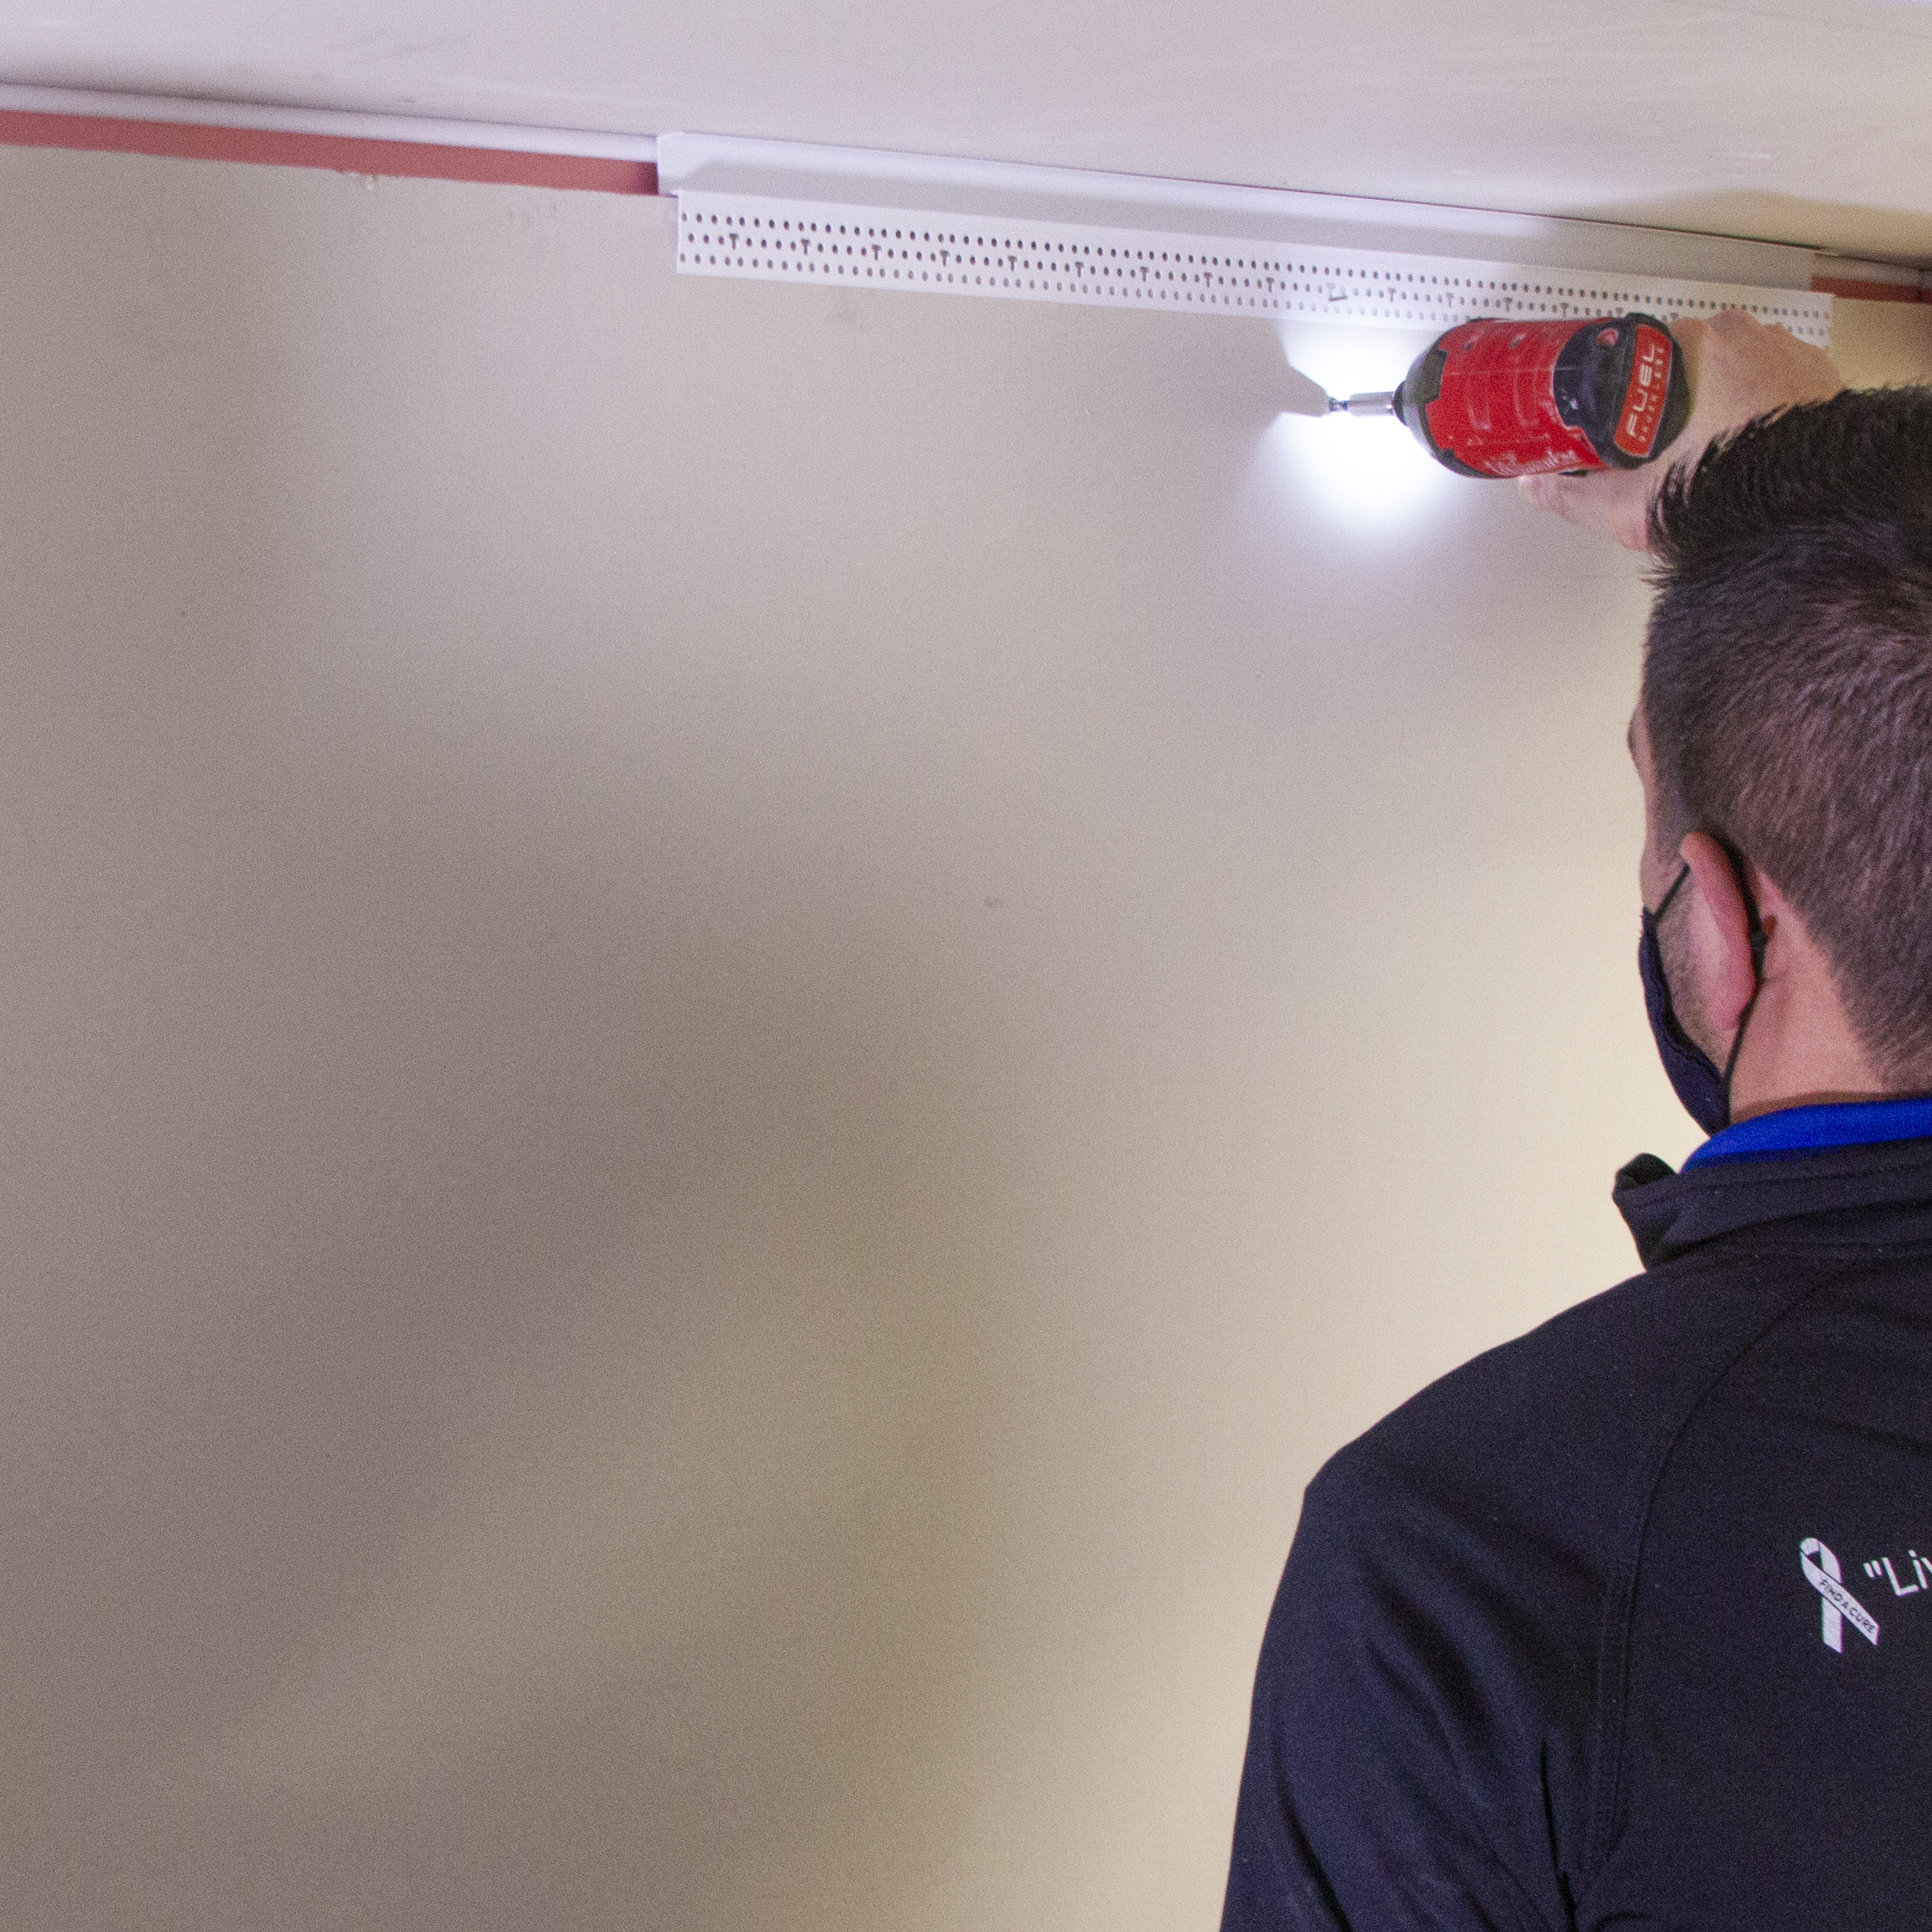
 Peel off the adhesive foam strip that runs along the back of Fire Gasket and apply the accessory to your framing member, pressing firmly and ensuring the bubble gasket is compressed in the head-of-wall joint.
(You can optionally use framing screws along Fire Gasket's lower leg, but in most cases, the adhesive foam will be more than enough.)
One of the elements that makes installing Fire Gasket unique, even among Trim-Tex's other firestopping solutions, is its ability to be installed pre-drywall hanging. It's this feature that allows you to achieve a fire rated wall assembly up to five times faster than traditional methods — no drywall also means more visibility and more room for the installer to move around the jobsite.
Step 2: Drywalling
 Now that you've applied Fire Gasket on your framing member, it's time to do what you do best: hanging sheets of drywall.
Attach the drywall to your framing members as you normally would, but make sure you leave the proper deflection gap for joint protection at the head-of-wall! Usually, that will mean one inch for the Fire Gasket 1 model and an inch-and-a-half for the Fire Gasket 1.5 model, but consult UL joint system reports for your wall assembly's exact deflection requirements.
PRO TIP: Above, you can see that we used a small piece of ½" x 1" Architectural F Reveal Bead along the top of our sheet of drywall to easily ensure that we leave the exact right deflection gap above our drywall. Just staple its mud leg a couple times to temporarily attach it, and carefully remove it after the drywall is hanged!
Step 3: Protecting
 This step isn't necessarily required, but since the deflection gap leaves the upper edge of your drywall slightly exposed, we would highly recommend that pros install an extra layer of protection on that side. Here, we're using our own Tear Away L Bead, because the tear-off strip along its flange will make mudding it in, without spilling joint compound onto our Fire Gasket, much easier.
To install Tear Away Bead, measure and cut the bead to length, then just use a staple gun to place ½" staples every six to eight inches along the mud leg. Alternatively, or additionally, you can use 847 Spray Adhesive to attach Tear Away Bead to the drywall.
Step 4: Mudding
 If you chose to follow step 3, we'll of course need to mud the bead onto the drywall.
Mud the Tear Away Bead evenly, as you would any other drywall accessory — we're just using a basic taping knife and all-purpose joint compound, mixed with Powdered Mud-Max for added durability.
Step 5: Tearing
 After waiting for your mud to dry, come back to remove the tear-off strip from the Tear Away Bead you installed along with your Fire Gasket.
You should be able to peel off this strip in a single, fluid motion. So satisfying!
Step 6: Finishing
 Apply at least one additional coat of mud to the Tear Away Bead before your topcoat (the specifics here may be left up to what level of finish the job requires) and wait until that dries before painting.
One of the big reasons why Trim-Tex's fire rated drywall solutions are such a step up from traditional firestopping solutions is that, being made of vinyl, you don't have to wait around for a sealant or spray to cure — it can be inspected the same day it's installed.
Now you've got a fire rated wall assembly that's ready to effectively prevent the passage of smoke and fire, as well as withstand the pressures of building movement!
Now that you've learned about installing Fire Gasket professionally, why stop there? Fire Gasket is just one member of our family of fire rated drywall accessories. Use the button below to learn everything you need to know about these innovative code compliance solutions — and don't forget to grab a copy of a full technical catalog while you're there!
{{cta('4f3b8382-133c-4838-b1ca-1223d768e880','justifycenter')}}