Drywall 101: The 6 Levels of Drywall Finishing

Drywall finishing can sometimes be more art than science — give a good drywaller total freedom and they’ll give you a room filled with clean lines and smooth corners without much guidance. But when an architect or specifier needs to get more specific, communication about exactly what they need can get tricky. How can you know what levels of drywall finishing the client wants if they don’t know how to describe it themselves?
That’s the problem that, back in 1990, several organizations within the industry put their heads together to solve. That group — including the Gypsum Association, the Association of the Wall and Ceiling Industry, the Drywall Finishing Council and others — developed an industry standard for the various levels of drywall finishing, to help building owners, specifiers, architects and contractors define the finishes they were looking for on the job in a more clear-cut way.
The final product of these discussions was six different levels of drywall finishing clients could choose from, contained in the Gypsum Association’s “Recommended Levels of Finish for Gypsum Board, Glass Mat and Fiber-Reinforced Gypsum Panels” (GA-214). Here’s your guide to what these six standards mean for you, and your clients too, in this edition of Trim-Tex’s Drywall 101 series.
Level 0
In Level 0 jobs, the idea is that no one is going to see the work outside of the construction crew. No tape, no finishing coats of mud and no corner bead necessary. If a Level 0 standard is requested, it’s usually because the setup is temporary, or if the architect/specifier has yet to decide on a look for the job.
Level 1
Again, a Level 1 area is not meant for public viewing. You may see Level 1 drywall in a tucked-away, closed-off area, like an attic or a service corridor. All joints and angles will need to be taped, but no need to cover the tape with another layer of mud. This will provide the bare minimum of smoke and sound passage prevention — some regions call a Level 1 finish “fire taping.” The little ridges often left on the gypsum board don’t need to be sanded down and your screws/tape don’t need to be covered up with mud, but be sure to wipe the drywall clean of excess compound.

Here, drywall accessories are optional. But we would recommend putting in something that installs quickly that will hold tight to the drywall and resist heavy impact — the way a corner in a service corridor or hidden storage area often does — like Trim-Tex’s Mud Set Bead.
Level 2
Here we start applying some coats of mud. You’ll see a Level 2 wall in a garage, warehouse or a similar area where the look of the wall is not a high priority (or in areas where you know you won’t invite another pro drywaller over who will make fun of you). You’ll also find it where the plan is to later use the drywall sheet as a substrate for tile.
Tape your joints and apply a skim coat of mud over them with your taping knife. Cover all exposed fasteners and corner bead with one coat of mud, then remove any excess compound. You still don’t yet need to sand down your ridges or tool marks. Here we would recommend any standard vinyl corner bead for your accessories, as they’ll stand up to wear-and-tear and leave you with sturdy, if not especially flashy, drywall corners.
Level 3
After taping, joints and angles on Level 3 drywall will need to receive an additional layer of mud after the initial coat, and your screws and corner bead will need to be covered with two separate layers of compound. Sand down any ridges or tool marks left in the compound.
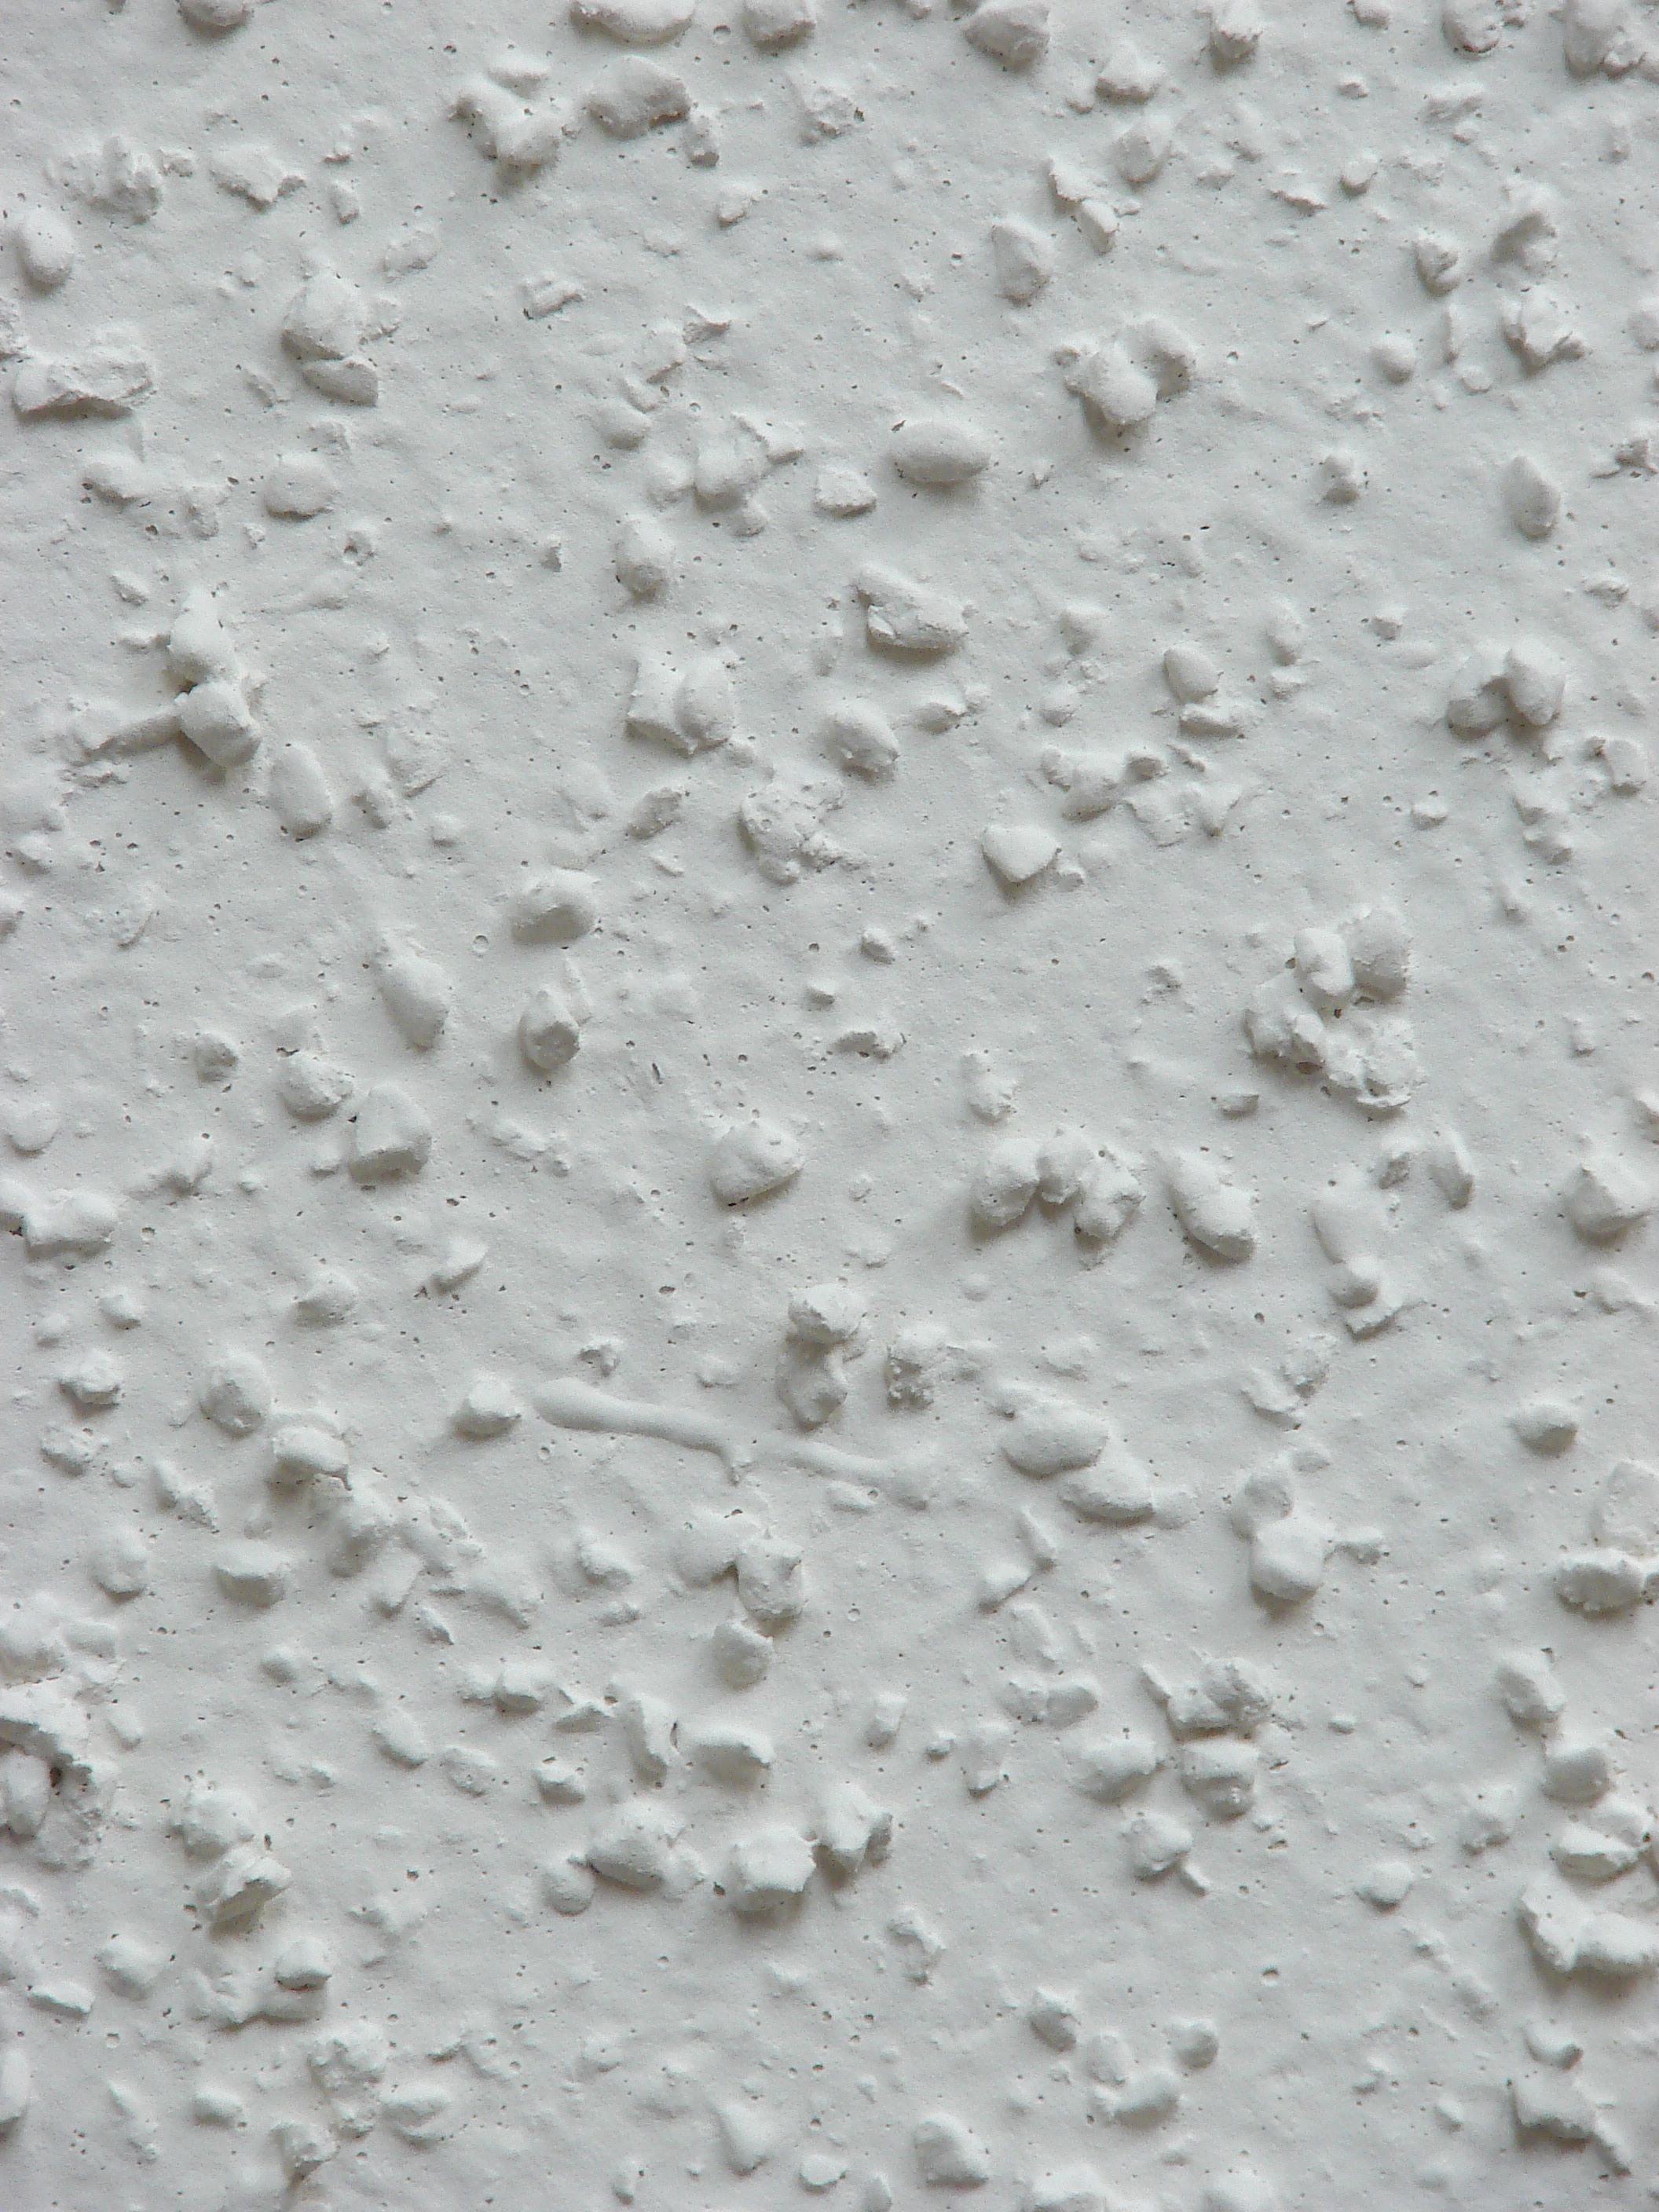
Your finished surface will still be kind of rough and not ideal for a smooth wall design or a light texturing. Instead, a Level 3 drywall is best for walls that are meant to receive a heavy- or medium-texture finish across the entire surface (pictured), whether sprayed or hand-applied. (The GA also recommends using a drywall priming material before painting from this point forward.)
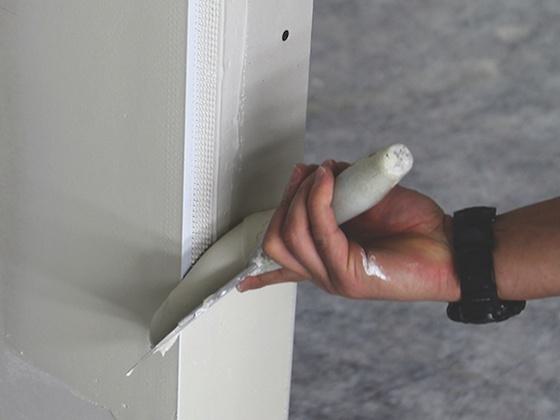
This is a good time as we move up the ladder to get comfortable with the Fast Edge® family of drywall accessories. Fast Edge has the fastest installation time in the game, and since you’re now required to use more than one layer of mud on your corner bead, the fact that you can apply your fill coat to Fast Edge the same day as the bead is applied means you’ll be saving tons of time installing it on all your corners.
Level 4
This is the level where most of your drywall finishing jobs will likely land. Level 4 drywall is perfect for walls specified for most flat or enamel paints, or some light texturing. If your job calls for a final paint with a high level of sheen or dark/deep tones, you’d be better off bumping up your finish to Level 5, as these will highlight any surface defects in severe lighting.

You know the drill: Level 4 drywall needs to be taped, all joints/angles need to be mudded with a skim coat, with another two additional layers of compound for flat joints and one additional coat for interior angles. Screws and accessories will require three separate mud coats, and any ridges need to be sanded off.
We think drywall with this level of finish often looks its best with a corner that stands out. For instance, we love a corner with the sharp, crisp lines of a Chamfer Bead.
Level 5
At a Level 5 finish, the drywall has a smooth, uniform surface that looks great under any intense lighting, harsh shadows or high-gloss paint, and your fasteners have essentially no chance of showing through the paint. It’s the ultimate in drywall finishing. Level 5 drywall finishing includes all measures included in Level 4, but with another, additional skim coat of compound applied evenly across the entire surface of the gypsum board.
The whole goal of a Level 5 finish is to come away with perfectly flat surface. To help with that, we couldn't recommend highly enough that you install your gypsum boards with Buttboard Drywall Backer (pictured above). Buttboard is going to eliminate butt joint bulges and cut down on the time and material it takes to achieve a flat surface around all of your joints, allowing you to get a faster, easier Level 5 finish. Learn more about how Buttboard works here.
In construction, communication can be everything. Hopefully, you can use this guide to the six levels of drywall finishing — the industry standard for 30 years now — to better understand precisely what your architect or specifier needs from you. (Or maybe you’ll need to send a link to this article off to them to make sure they’re acquainted with these standards). And be sure to stay in the loop on tips like these by subscribing to Trim-Tex’s monthly e-newsletter — hit the button below to stay in-the-know!

Trim-Tex in Your Inbox
Subscribe to our e-newsletter for monthly tips, news, case studies and updates