Using Buttboard on Ceilings for a Flatter, Faster Finish


If you’ve been around drywall community for a while, chances are you’ve already heard of Buttboard Drywall Backer, the OSB solution that’s helped tradespeople around the world save countless hours, and countless buckets of mud, when finishing butt joints. But you may not know that Buttboard isn't just for your walls — you can be using Buttboard on ceilings, too, for flatter finished butt joints in less time.
Buttboard may be a little bit complicated to explain, but pretty easy to install. Just check out how this drywall crew on a home addition project in Evanston, Ill., easily tackled using Buttboard on their ceilings:

How does Buttboard work? It’s deceptively simple: each OSB plank is manufactured with a sunken middle section. By floating your butt joints onto Buttboard rather than studs, you’re pulling back the cut ends of your drywall sheets, forming a recessed butt joint that mimics factory-tapered edges. You now have room for your tape and mud without creating a huge hump that needs to be slowly, painstakingly feathered out. Besides cutting your labor and material costs in half to flatten these areas, you’re also reducing waste by not having to cut your drywall short to land on a stud; you additionally won’t get cracks from toenailing your screws too closely together onto the same narrow, inch-and-a-half stud surface.
To install Buttboard on a ceiling, just first make sure you are at least six inches from a ceiling joist — installing it any closer will mean that the joist won’t allow Buttboard to suck back the edges of the drywall. (The same distance also applies to studs.) Screw your first sheet of drywall onto your ceiling studs, and once that’s in place, lay down a plank of Buttboard Drywall Backer along the back edge of that sheet. You’re going to want to line up the edge of your drywall with the plank’s center line so it’s centered between both sheets of drywall.
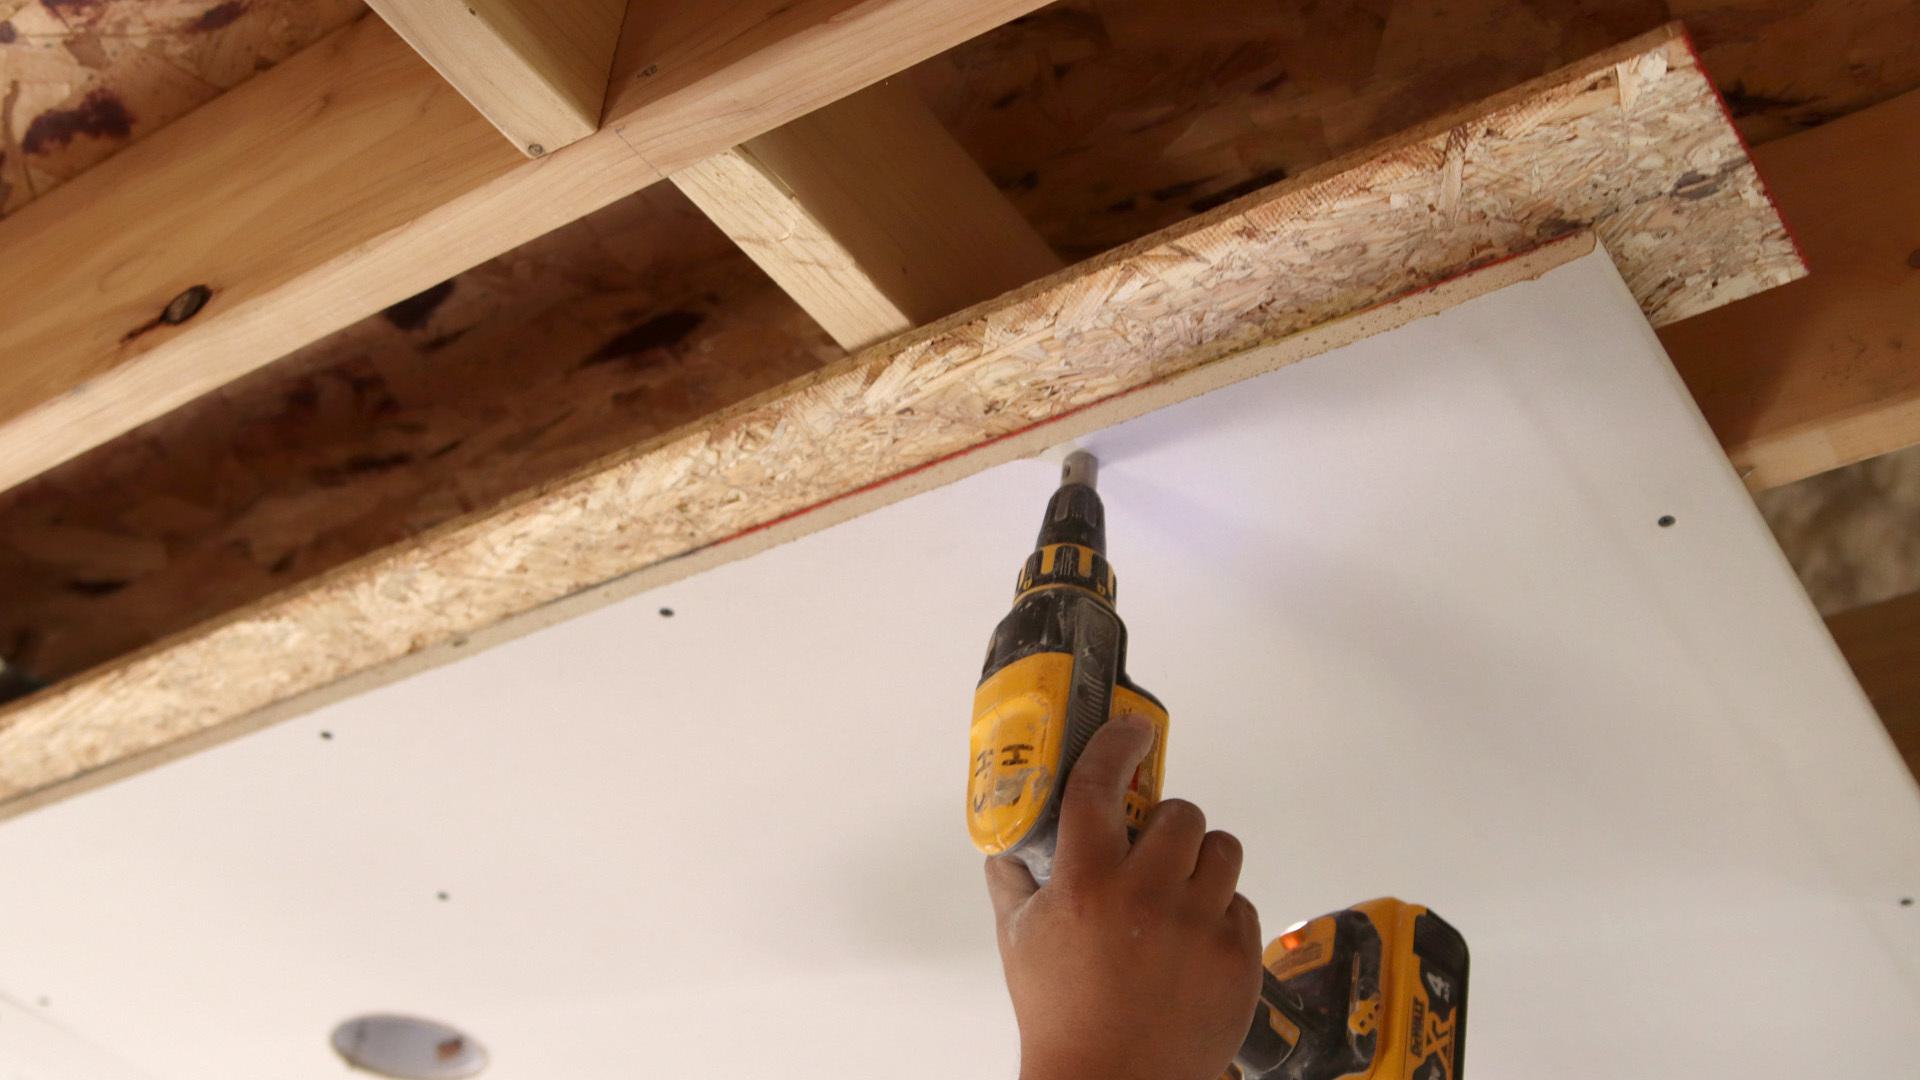
Now install screws every eight to 12 inches, affixing your drywall into Buttboard, leaving an inch of space between the screws and the butt edge. Now do the same with the second sheet of drywall, applying screws from the drywall into the Buttboard an inch away from the sheet’s edge. Then you can attach that second sheet to the adjoining framing members.
Now, when you begin taping and mudding that butt joint, any drywall finisher with any amount of experience is going to notice a huge difference. Instead of spending a bunch of time hiding a mound of mud, leaving behind a four-foot-wide butt joint, you’ve got room enough for a coat of mud that won’t require a lot of feathering for a perfectly flat ceiling. For most drywall ceilings, running a 12-inch box over these areas will be enough.


If you want to start using Buttboard on ceilings, you won’t regret making the leap. Use the dealer locator tool below to find where to buy Buttboard near you!
Find Your Local Dealer
Trim-Tex beads are flying off the shelves at a dealer near you. Snag a box or a truckload of your favorite corner profiles today.