If you or a client of yours own a newly constructed home with a truss-rafter roof assembly — especially if that home's going through a cold winter — and you start to notice some cracking in the ceiling corners where the drywall meets those trusses, don't start pointing any fingers yet. It's probably not the carpenter's fault. And it's almost certainly not the drywaller's fault. This is called "truss uplift," and if we need to blame anything, it's a physics problem. Let's take a look at the primary truss uplift cause and solutions you can follow to fix the effects, or better yet, prevent them from ever happening in the first place.
Cracks Along Your Ceiling Corners? Here's How to Prevent Truss Uplift

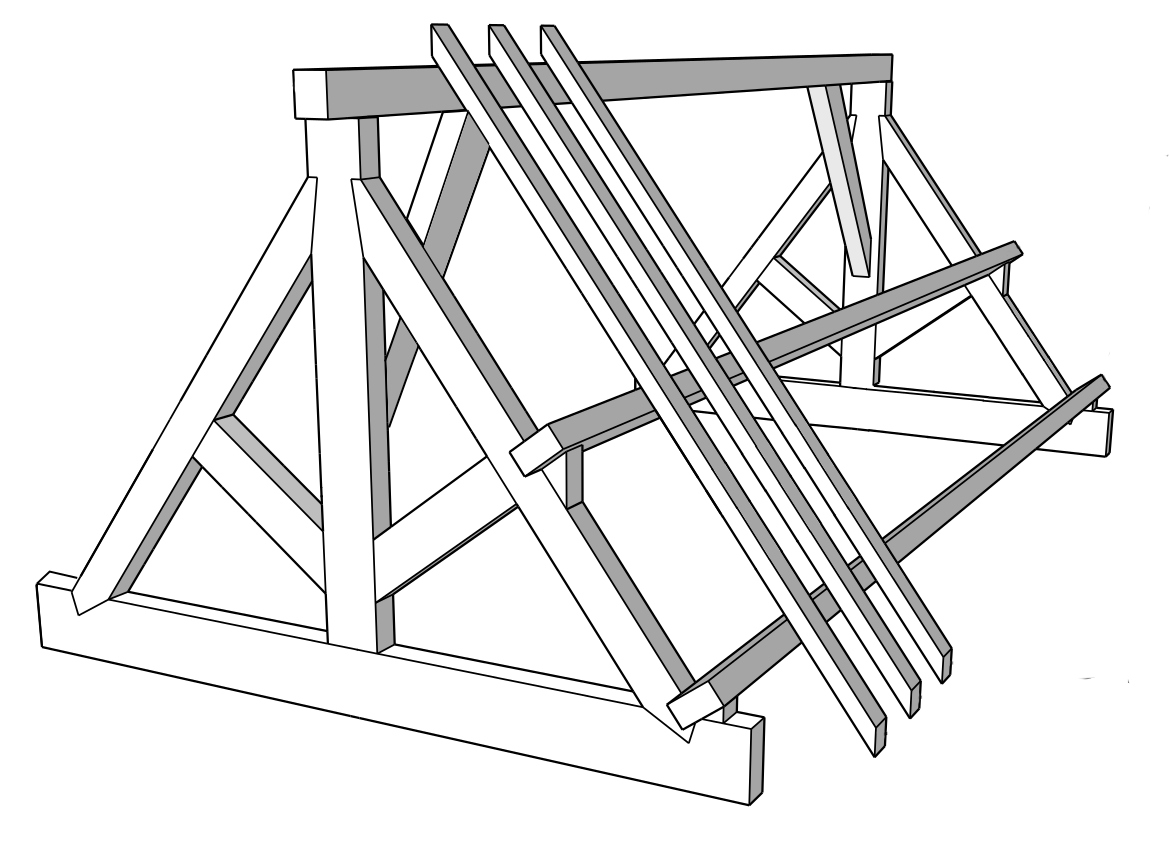
Truss rafters
What is a truss rafter? Trusses are pre-engineered and manufactured assemblies that take the place of conventional rafter/ceiling joist roof construction. Trusses are usually installed across the entire width of a home and transfer the load to the outside walls and through them to the foundation. Houses that are constructed using trusses seldom have internal load bearing walls. They are often a less expensive, faster method than stick-built roof framing. The trusses are a combination of wood members connected together with metal plates.
Truss uplift
When a newer house shows signs of interior ceiling corner cracking at the top floor in the winter, this can normally be associated with truss uplift. This is a roof truss in a normal position:

Roof truss uplift occurs when the bottom chord of the truss is exposed to significantly different moisture and/or temperature conditions than the rest of the roof truss. The bottom chords of the truss are buried in heavy insulation, 12 inches or more thick. In the winter, the warm temperature from the ceiling below and the thickness of the insulation keeps the bottom chord dry, causing them to shrink. The top chords (above the insulation) are absorbing moisture and being kept damp with the higher humidity in the attic. The dampness of the top chords of the trusses causes them to expand. This differential movement in the top and bottom chord of the trusses causes them to arch up in the center.
This is a roof truss in that "uplift" position:

Because the truss ends are secured to building exterior walls (a location that resists outward thrust), as the truss bottom chord wants to expand along its length, the force pushes it upwards into the attic space. When the trusses arch up, they pull away from the top plates at the ceiling-wall juncture of central interior wall partitions that run at right angles to the direction of the roof trusses, predominately at interior partitions in the center of a building). The ceiling/wall juncture cracks and the joint tape will break, and even after the truss settles back downward in the summer, the damage can remain.

As a result, the problem is often an ongoing one. The building contractor will be held responsible and, in turn, the drywall contractor will be called in to re-tape the corners and popped screws, only to have the problem reappear next season. If damage to the drywall occurs, we would be tempted to say that the drywall can’t be just repaired and refastened.

Whatever the reason, the problem is real, but truss uplift is not a structural problem. This movement — which can just cause a simple hairline crack at best or, at worst, create large gaps and cracks along the corners — is a cosmetic problem, mostly in homes in cold climates. The best approach is to stop the truss uplift action from having any effect on the ceiling and wall drywall joints that exist throughout the home. Remember, truss uplift is not truss uplift if the owner can’t see it. Let the trusses move. The truss moves, the drywall bends, no crack? Happy customer.
Repair & prevent truss uplift
If the condition has already affected the house's interior, the tops of the interior walls should be un-nailed from the trusses. Remove or cut free the nails from inside the attic. Then remove all the ceiling screws within 16 inches of the corners at the center partitions and all the wall screws within eight inches of the ceiling along the wall. The holes in the drywall should then be patched with drywall joint compound and the walls and ceilings repainted. This solution will be difficult to accomplish and will be costly.

To simply cover up the cosmetic problem — not ideal, but much cheaper — install crown molding around all the second floor ceilings, nailing the trim only to the ceilings. This procedure would cover the cracks and maintain a good looking ceiling corner. Remember to paint the trim and drywall in the winter months, so that there is no paint stripe at the bottom of the trim when the trusses lift next winter.
For our money, though, the best and most cost-effective option to stop the effects of truss uplift is to install Trim-Tex's Truss Backing Angle after framing, but before hanging the drywall.

This inventive backing angle is our solution to totally eliminating this kind of ceiling corner cracking. Where paper tape will tear here, the backing angle's rigid PVC structure will hold strong while containing the drywall and allowing the trusses to move independently from the interior walls of the house during the colder months. This way, the drywall can just flex slowly as the rafter moves up, but the drywall along the wall/ceiling intersection stays in place.
Attach the backing angle to your framing members and screw the ceiling drywall directly into the vinyl between the trusses, rather than into the trusses themselves.

It's simple, fast and will ensure that you have great-looking seams between the walls and ceilings of the house for the lifetime of the structure.
The idea is not really new; Trim-Tex is just trying to offer a better alternative. Since the backing angle is made out of vinyl, it's plenty durable, and perfect for moisture-rich environments like these. It just needs to hold the drywall edge in place along the top edge of the wall, and is attached the entire length of the walls being treated. It can easily be fastened anywhere along the edge, as long as the fasteners don’t go through the angle and into the truss. The screws start very easily in the vinyl engineered extrusions, which speeds up production.
To learn more about how to install Truss Backing Angle and truss uplift cause and solutions, check out the video below, and be sure to hit the button at the bottom of this page to subscribe to our monthly e-newsletter to never miss another tip from the Trim-Tex team!


Trim-Tex in Your Inbox
Subscribe to our e-newsletter for monthly tips, news, case studies and updates