Drywall is typically a one-stop-shop for resilient interior walls — and it’s no wonder why, since it’s affordable, durable and stands up to smoke and fire better than many other building materials. But there’s one massive exception: it’s no match for especially moisture-rich environments. That makes finishing drywall around a shower flange or tub enclosure tricky, because using drywall as a backer for tile in these areas is likely going to lead to ruining both. Paper tape, too, should be right out — it serves as a food source for mold. Connecting the drywall to the shower enclosure, then, requires a different solution than finishing around a window, door or other detail.
Finishing Drywall Around a Shower Flange

So how do you manage finishing drywall around a shower flange? You could fill the gap between the flange and the drywall with hot mud and hope it adheres to the caulk well enough for years’ worth of showers and baths, then cover it with mesh tape. You could go through the labor-intensive, time-consuming process of furring your studs before hanging the drywall. Or you can use the solution specifically manufactured to help finishers complete this task quickly and affordably: Shower Bead, also known as an Oversized Tear Away L Bead.
WHAT IS SHOWER BEAD?
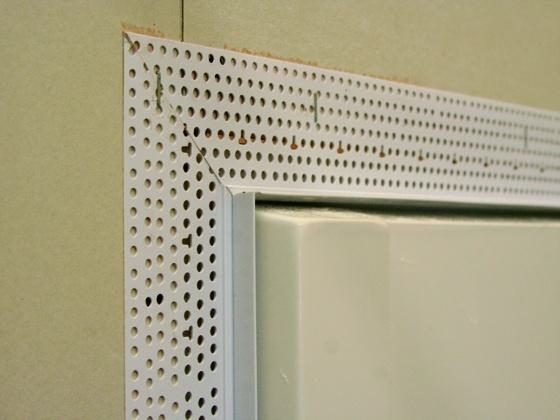
Shower Bead is designed with the problems of the average drywall finisher in mind — it installs quickly and easily, with an extra-wide leg to stretch across the gap between the shower/tub enclosure. Shower Bead is made of high-quality PVC, which means that no matter how many showers one takes in that space, it will never rust and won’t grow mold.
This solution is the quickest and easiest way to finish around tub enclosures and showers because it reduces the steps you’d normally need to take down to just the essentials — installing one vinyl bead per side of the flange, with a little bit of caulking around its gaps. This is why Shower Bead was named as one of BUILDINGS Media’s top money-saving products in 2020.
Shower Bead is available in two sizes to fit 1/2" or 5/8" drywall.

Buy the Shower Bead Kit Online
Get the Shower Bead kit tailor-made for finishing a shower enclosure, shipped directly to your door. Available in two sizes.
HOW TO INSTALL SHOWER BEAD
Snip a short piece of Shower Bead and lay it on the wall. If the Shower Bead does not lay flat, then you’re able to tear off a strip of the support leg, as shown below.

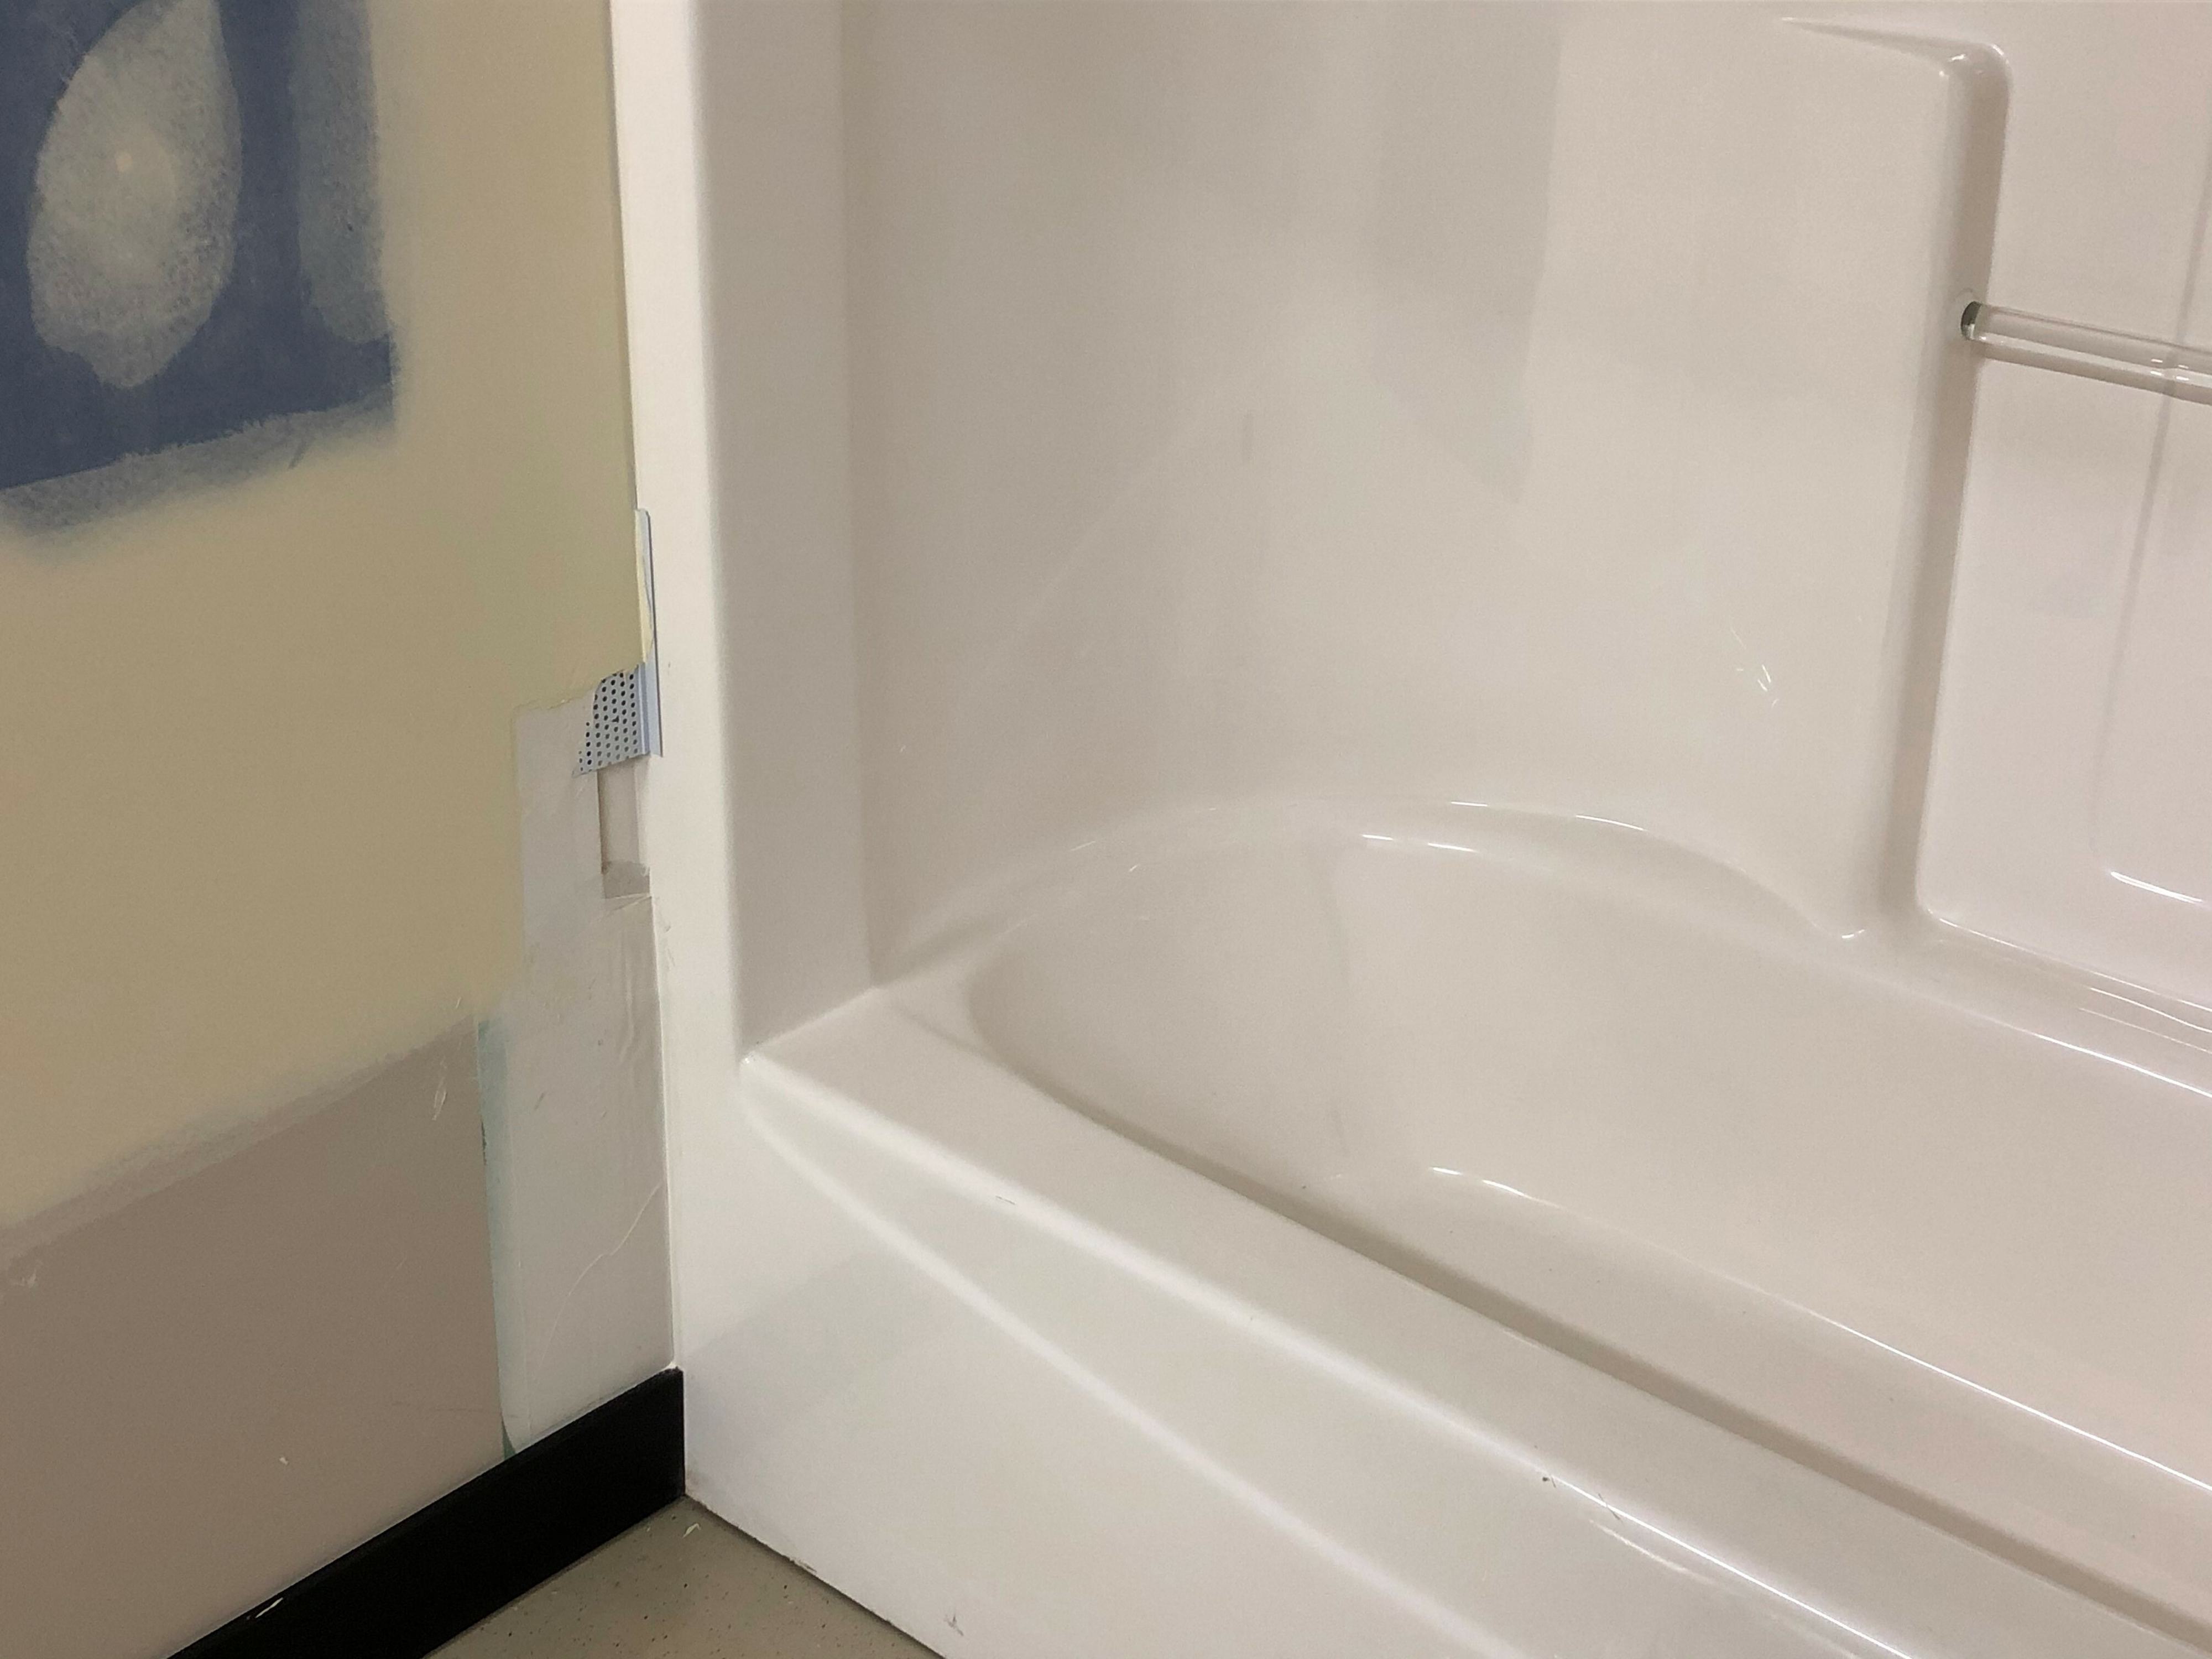
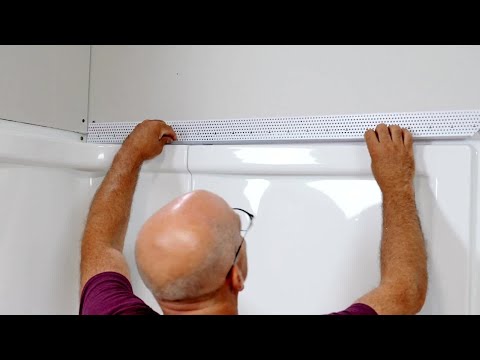
Dry fit and cut the Shower Bead to length. Spray the bead with Trim-Tex's 847 Spray Adhesive. Immediately apply to the drywall. Once in position, press the legs into place. Staple the mud leg every six to eight inches with ½" staples. Finish the installation by mudding and sanding the bead. Now remove the tear-off strip for a clean finished edge.

Finally, to prevent moisture intrusion, caulk the gap between the Shower Bead and the shower/bath unit. For additional protection, you’re able to lay a bead of caulk onto the shower/tub flange and embed the support leg of the Shower Bead in it, as shown above.
ADVANTAGES OF SHOWER BEAD
- Shower Bead uses less drywall compound than filling the gap.
- No messy drywall compound on the shower surround, the tear-off strip protects it.
- No paper tape needed, which means eliminating a source of mold growth.
- No screws needed. The extra-long mud leg can span the gap between the drywall and shower flange, and is installed with staples — so you won’t need to drill down into the tub/shower enclosure.
Finishing drywall around a shower flange doesn’t have to be a pain, and by using Shower Bead, you’re going to save time, material and headaches. Get a piece in your hands by requesting a sample of the solution — just hit the button below to get started!

Get a Free Shower Bead Sample
The must-have solution for finishing around showers and tubs!
Request A Sample